They say we never get a second chance to make a first impression. When it comes to real estate photography, this statement appears to be especially true. Appealing and high quality pictures are crucial in creating a positive first impression of a potential home buyer. Pictures are responsible for retaining a customer on page during the first few seconds. Any experienced real estate agent will tell you that good quality images make or break your property listing.
Real estate photography is a combination of art and business and to be successful as a real estate photographer, you need to learn to work with both. Real estate agents are always in need of excellent quality photos for their properties. If you are planning to start your career as a real estate photographer, this guide will help understand certain tips and tricks to kickstart your career.
Get the Right Equipment
The first step to ensure you get great shots of the house that will impress potential buyers is investing in specific equipment.
a. Camera
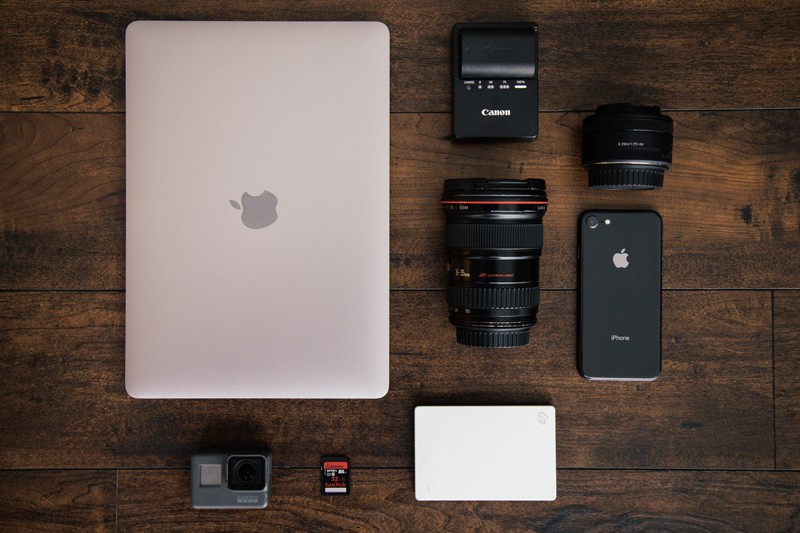
A full sensor DSLR camera is great for real estate photography. Before buying a camera it is important to take note of ISO performance. High ISO is crucial for night shooting, and you should not miss a chance to show your property lit up. Using a DSLR allows you to shoot manually with quick response and easy to view your shots. Also, editing your real estate photos post shoot becomes easier.
b. Lens
A good lens plays a key role in real estate photography. Professionals usually recommend wide angle lenses as it emphasizes the sense of depth and makes small spaces look bigger and also. There are no strict requirements, but be geared toward 10-22mm and 12-24mm for cropped sensor cameras, and 16-35mm for full-frame ones. Looking for a good lens? SkotKit can help you choose the right lens for real estate photography.
c. Tripod
A trip is a great addition to your gear. It allows you to set your camera at the same height room to room. It makes your images appear clean and focused with no blurriness or haze caused by a sudden movement of your camera. Another reason why a tripod can benefit your career is that it lets you conduct late night photo shoots. If you plan to take long exposure shots, a proper stability of your camera is a must.
d. Flash
Flash is an essential tool needed in real estate photography. A flash gun or monolight will enhance your images by compensating for low light and make your images brighter. If you decide to invest in a flash, check if it has a built-in receiver that you can trigger so the flash goes off with the touch of a button.
What to Capture?
Knowing what your potential buyer or tenants wants, you need to make sure you answer all their questions through your photos.
a. Living Room
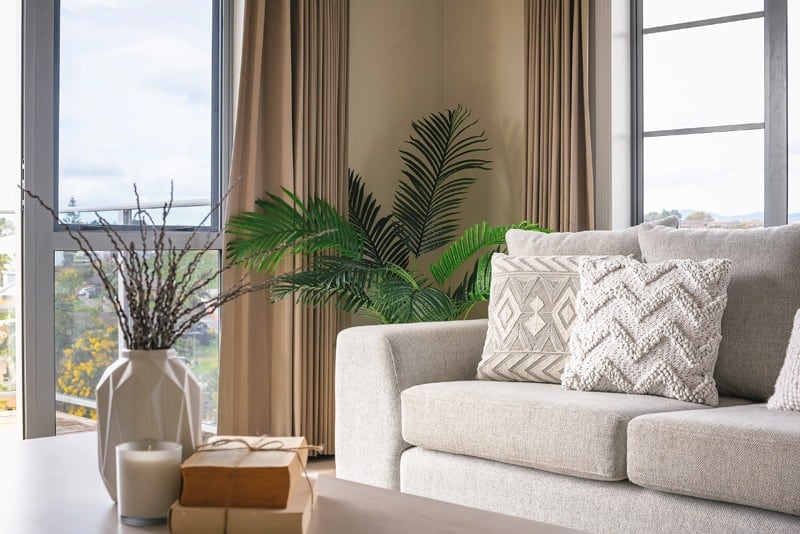
Spend time to find the best angle for the room which makes it look spacious and homelike.
b. Bedroom
Try to make it cozy and bright. A good idea is to highlight some perks such as a stunning view or a feature in the bedroom.
c. Kitchen and Dining Area
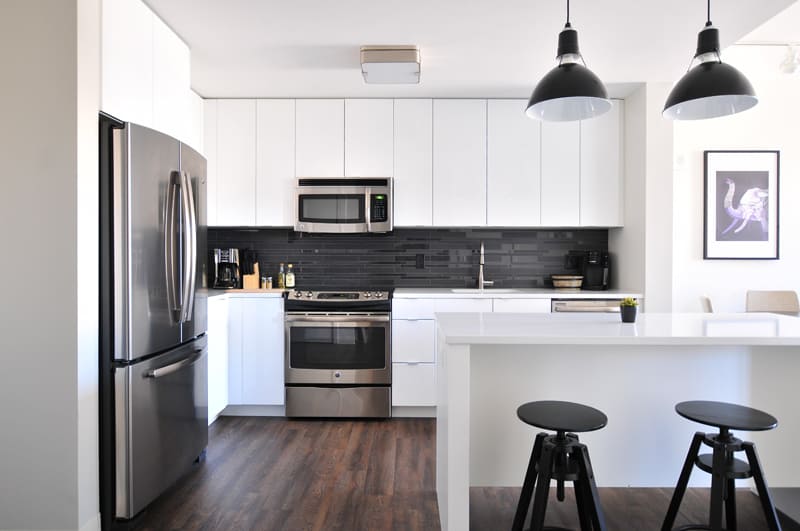
The goal is to find a good spot with good lighting. The room should be tidy and functional with no cleaning products visible in the background.
d. Bathroom
Finding the right corner of the bathroom can be challenging since it is the smallest room.
e. Exterior
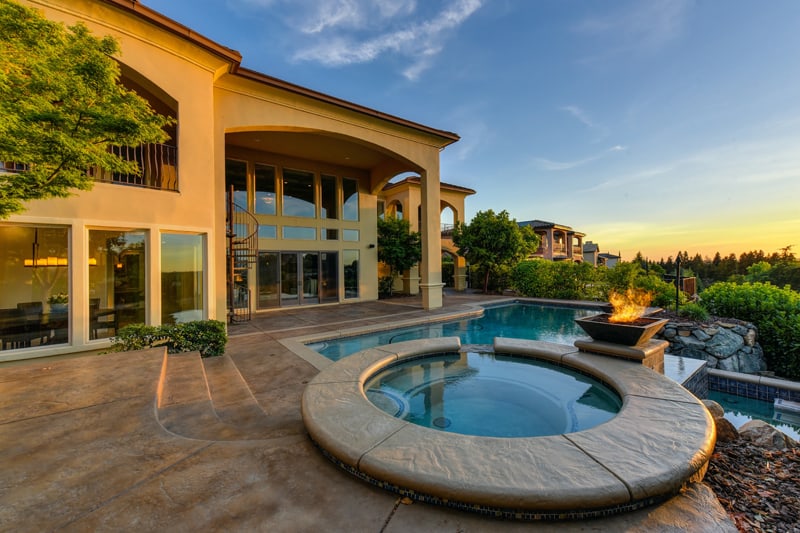
Sunlight and sunset hours are the best timing to capture stellar images of the property.
Camera Settings
To make quality pictures, you need to learn how to capture the right photo at the right. To make this happen, you should get familiar with the idea of your camera settings such as .
- Shutter speed
- Aperture
- ISO
- White balance
- Metering
- HDR
- Focus
How to Shoot Real Estate Photography
Once you have geared up and practiced your skills, it is time to learn how to capture some stellar images.
a. Scheduling your shoot
Weather and timing are both crucial for creating great estate photography. Try to shoot during a day, a period where there is enough natural light to get some stunning images. Once you are done with the interior you can focus on the exterior, somewhere right before sunset is a great time for shooting. Bad weather such as rain can be quite challenging, therefore make sure you check these factors before you step out to shoot.
b. Consider a Walk-through
Before you begin shooting, walk through the property and get a sense of each room. Take notes of the property, your challenges, your angles, best features in the house, furniture, etc. You can consider shooting tricky areas first as it may take more time than the others to get the perfect shot.
c. Make a list
Once you’re done with the above two points, make a list of the images you want to capture. This list will vary from house to house but usually it includes a photo of each room, any specific feature of the house, garage, backyard and frontyard if any and an exterior of the home. An aerial image from a drone can be a great addition to your list.
d. Bright and Well-lit
Low lighting in a room only results in dark, hard to view images that can turn off potential buyers or renters. Opening the windows and blinds will allow natural light to enter the property. Adjust certain lights in each room by turning on or off. You don’t want light to overpower your photos, so make sure white balance and shutter speed is in check.
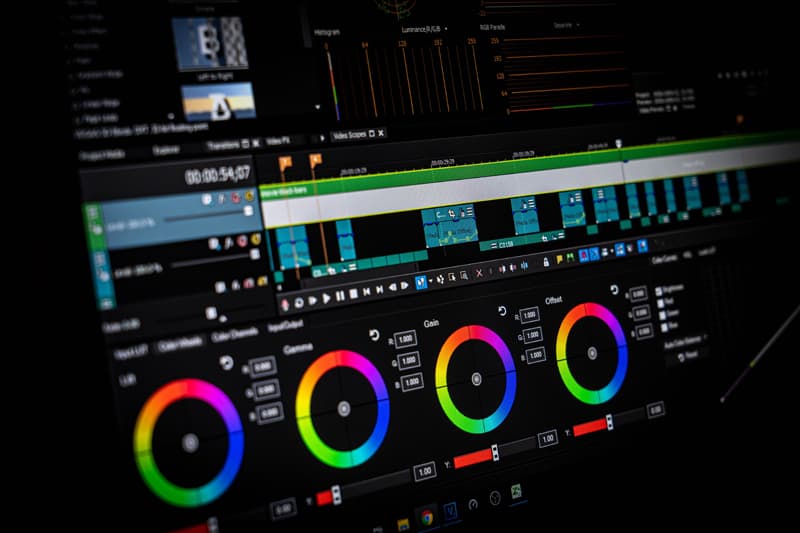
e. Post Editing
One of the downsides of using a wide-angle lens for real estate photography is that it can create some distortion in your photos and make certain areas in an image appear warped or slightly off. But the upside is that you can correct this issue when you edit your photos using softwares available online. Shooting images in RAW files and then post editing them with a reasonable amount of edits is a great way to bring your picture to perfection.
Conclusion
Now that you’ve read up on real estate photography tips, you might feel ready to start booking clients and taking on real estate shoots. One of the best ways you can connect with clients is to create an online portfolio that showcases your stunning real estate photography.
Frequently Asked Questions:
- Real estate photography tips for beginners
- Indoor real estate photography
- Tips and Techniques to Real estate photography
