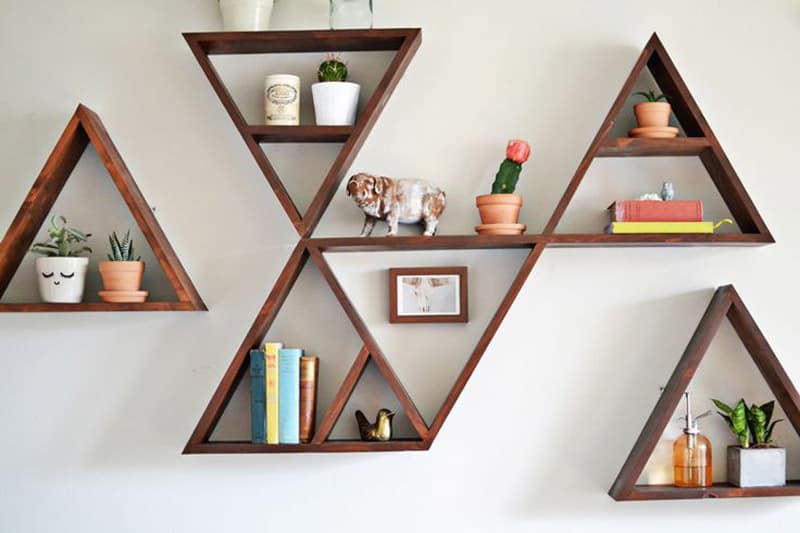
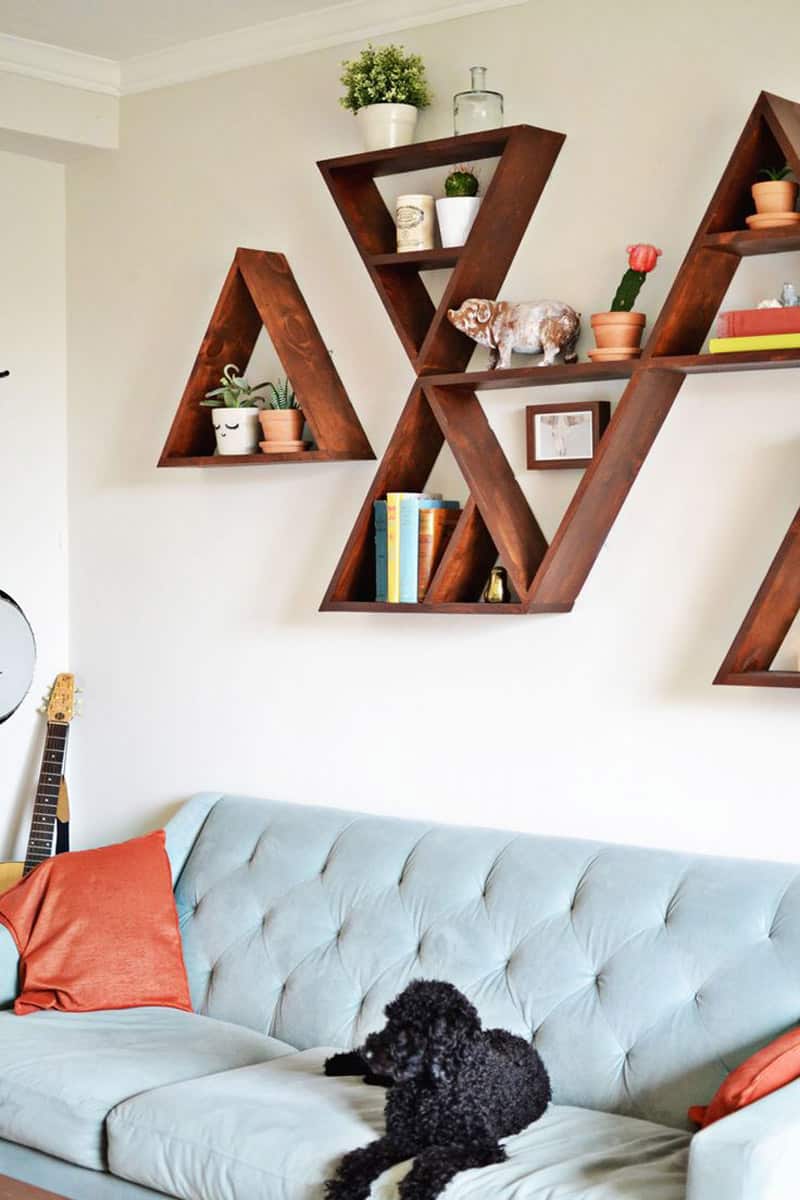
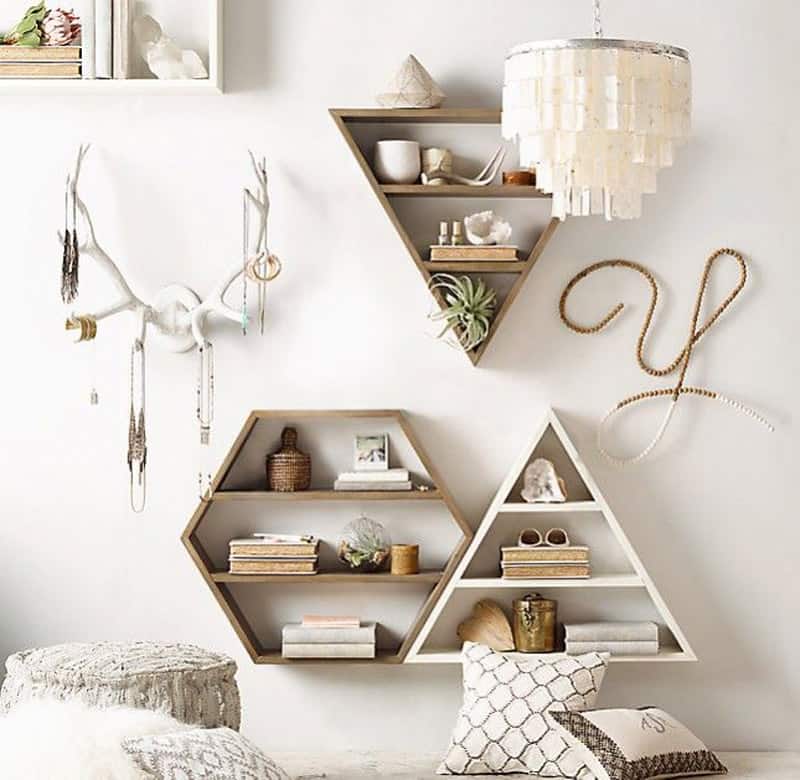
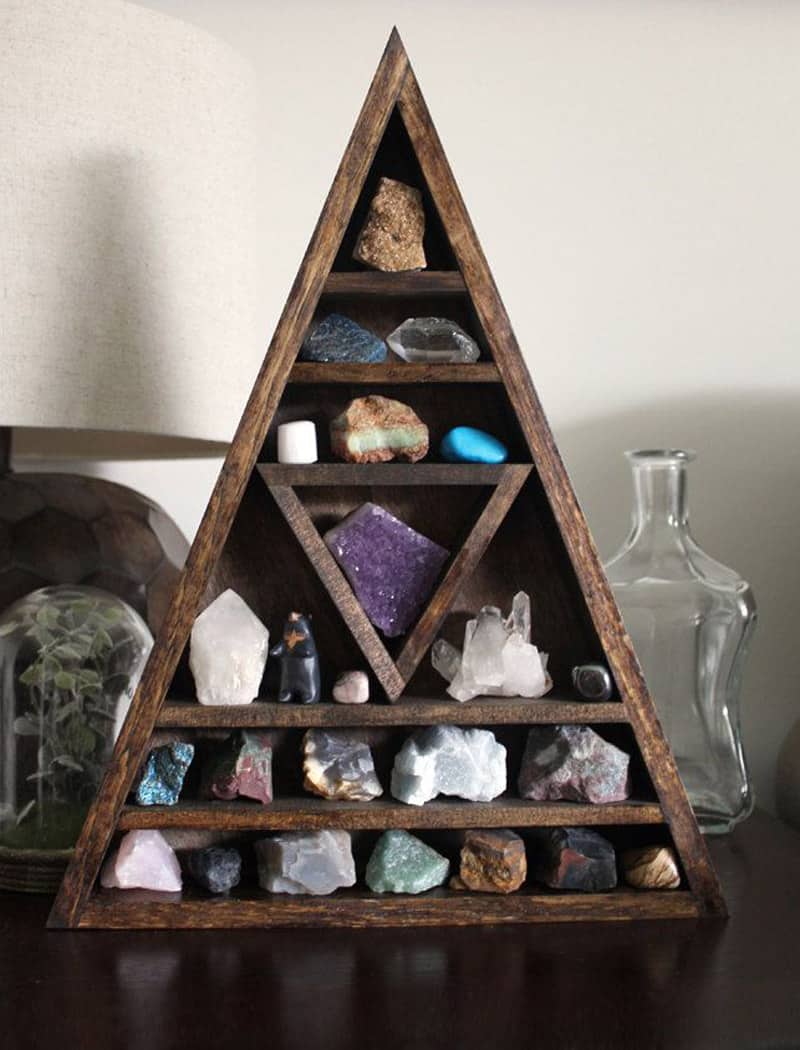
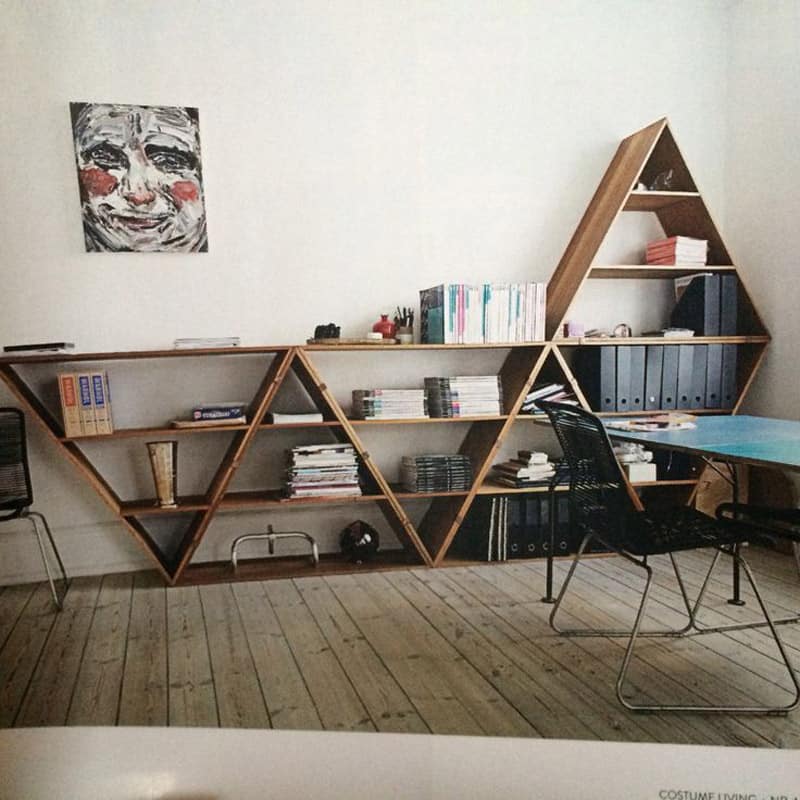
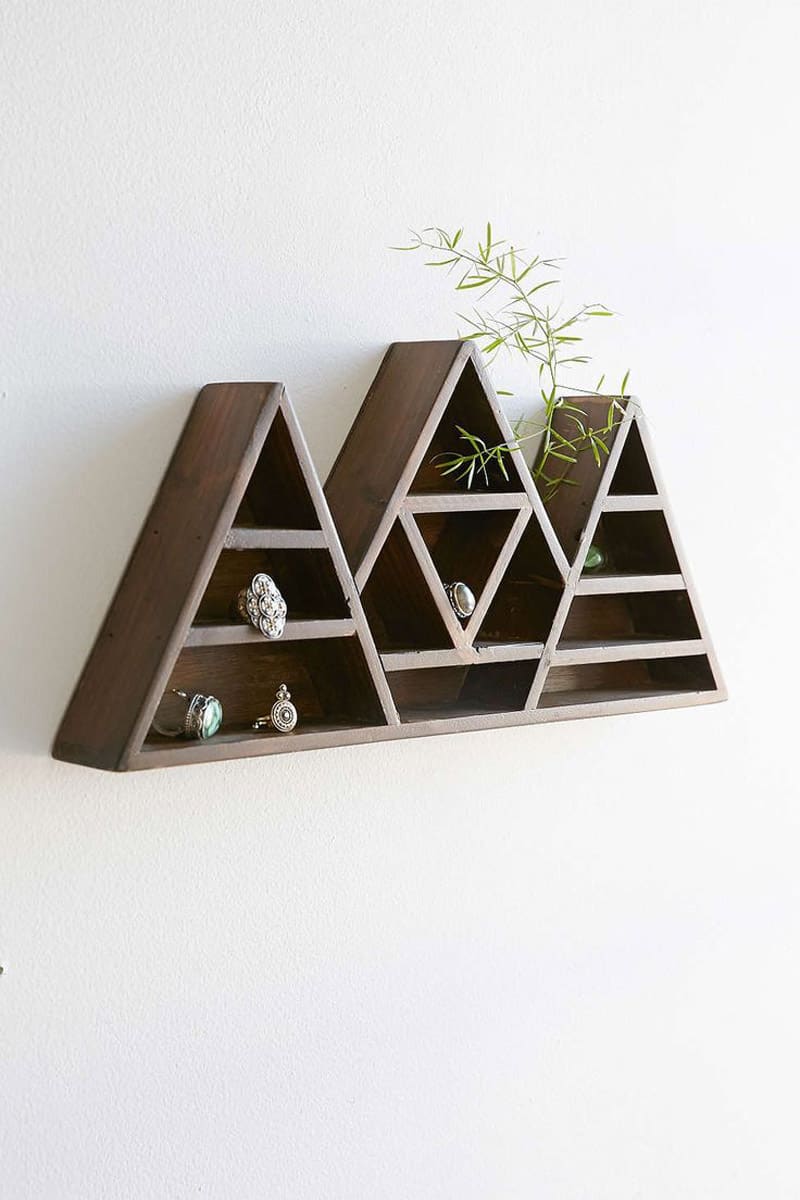
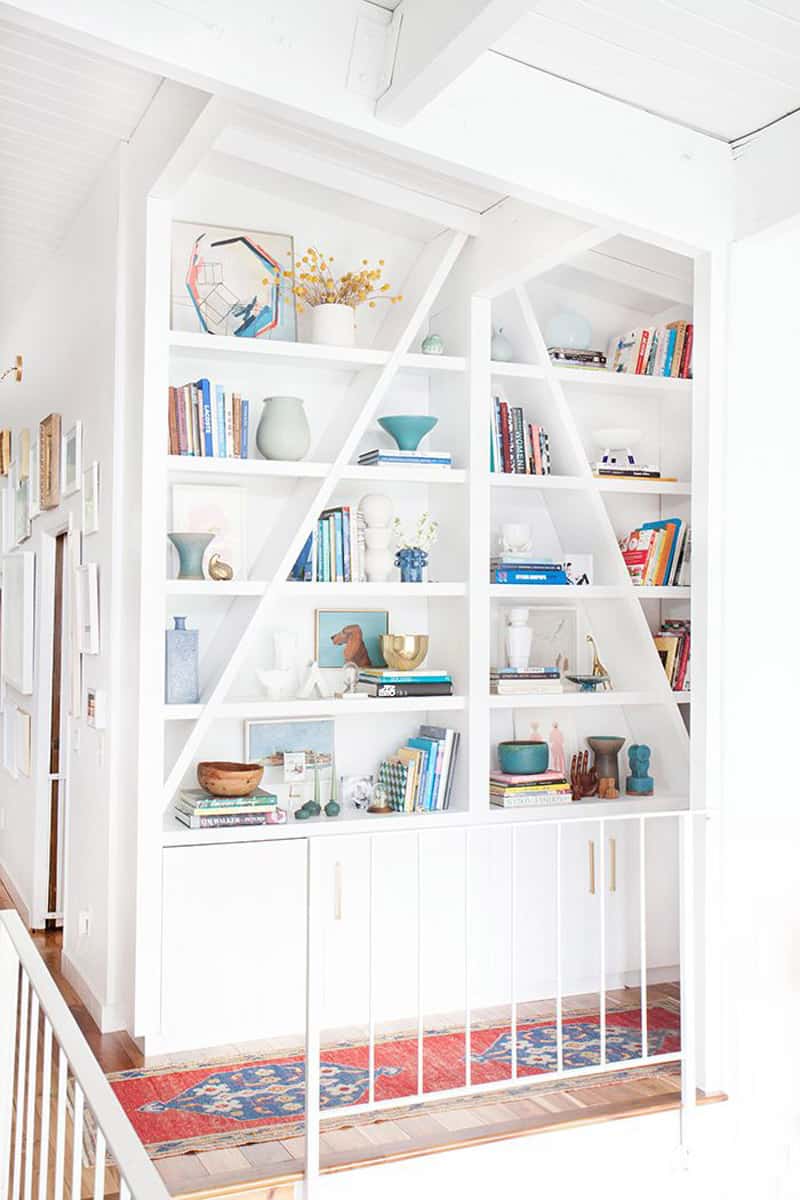
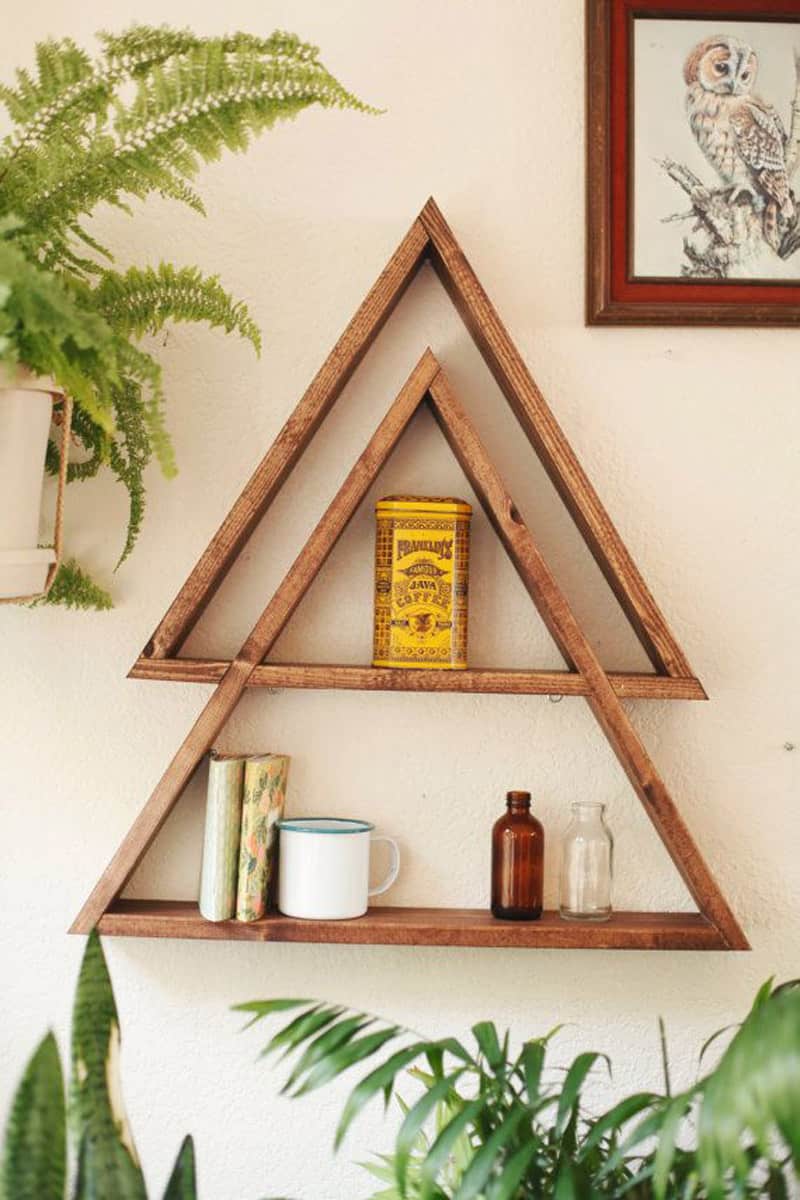
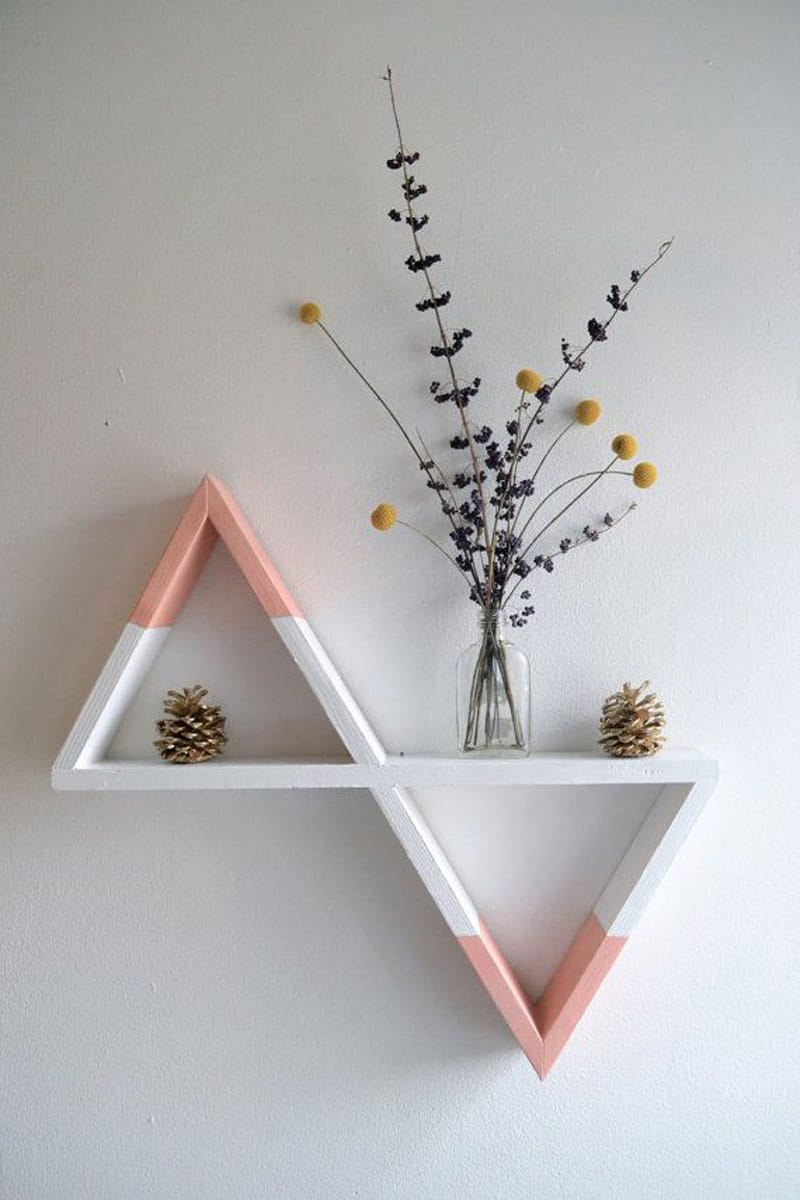
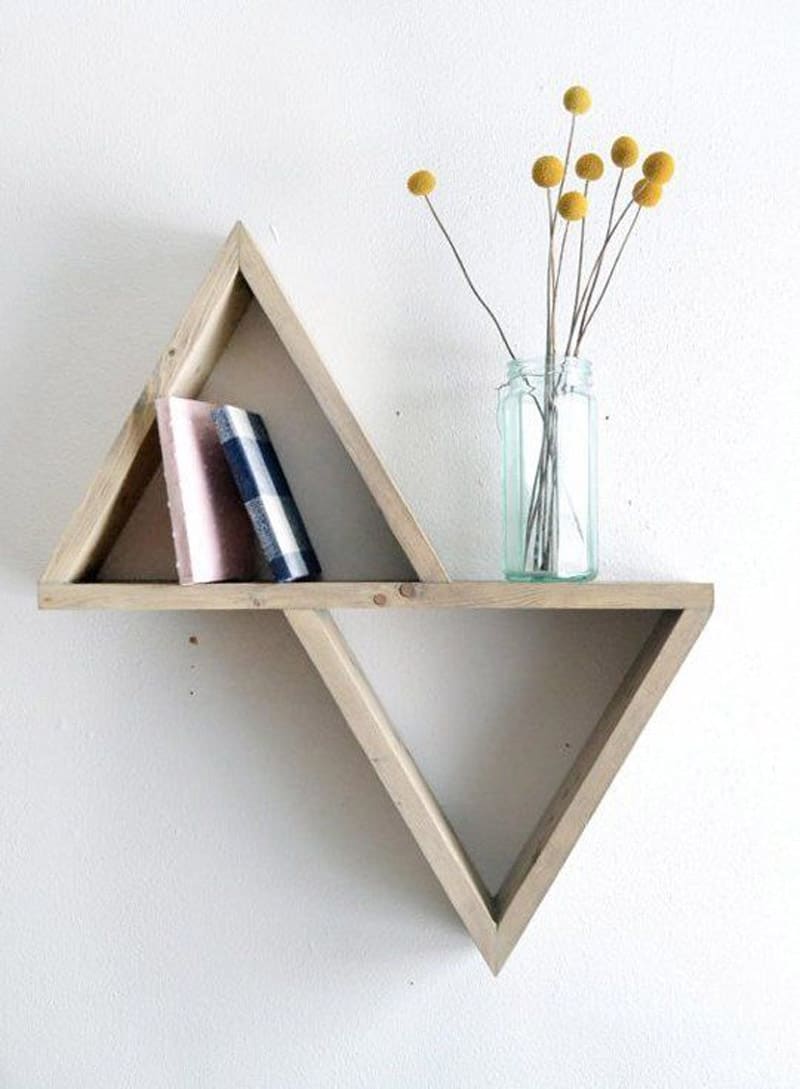
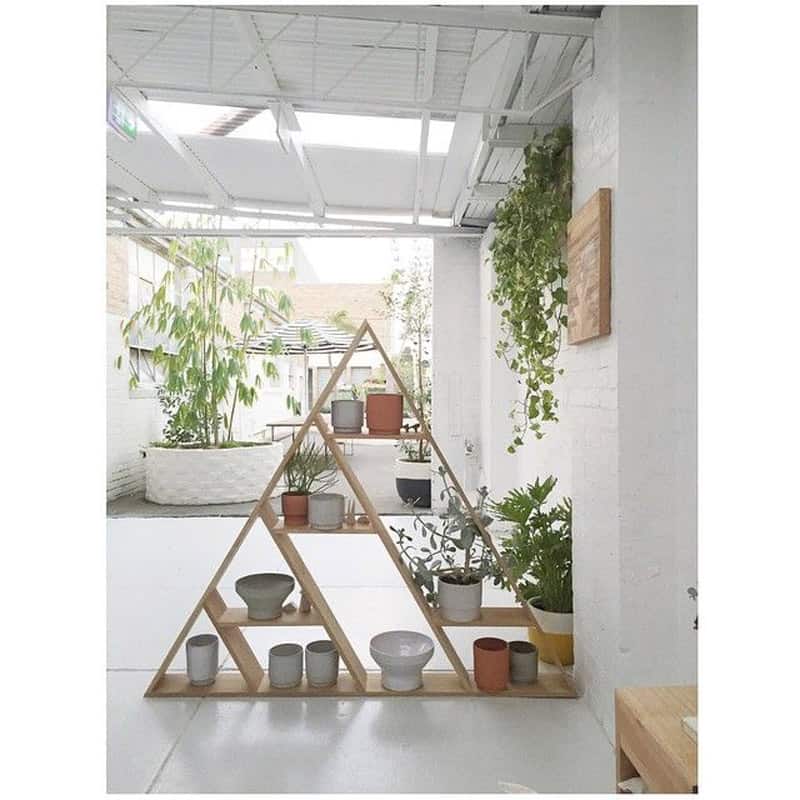
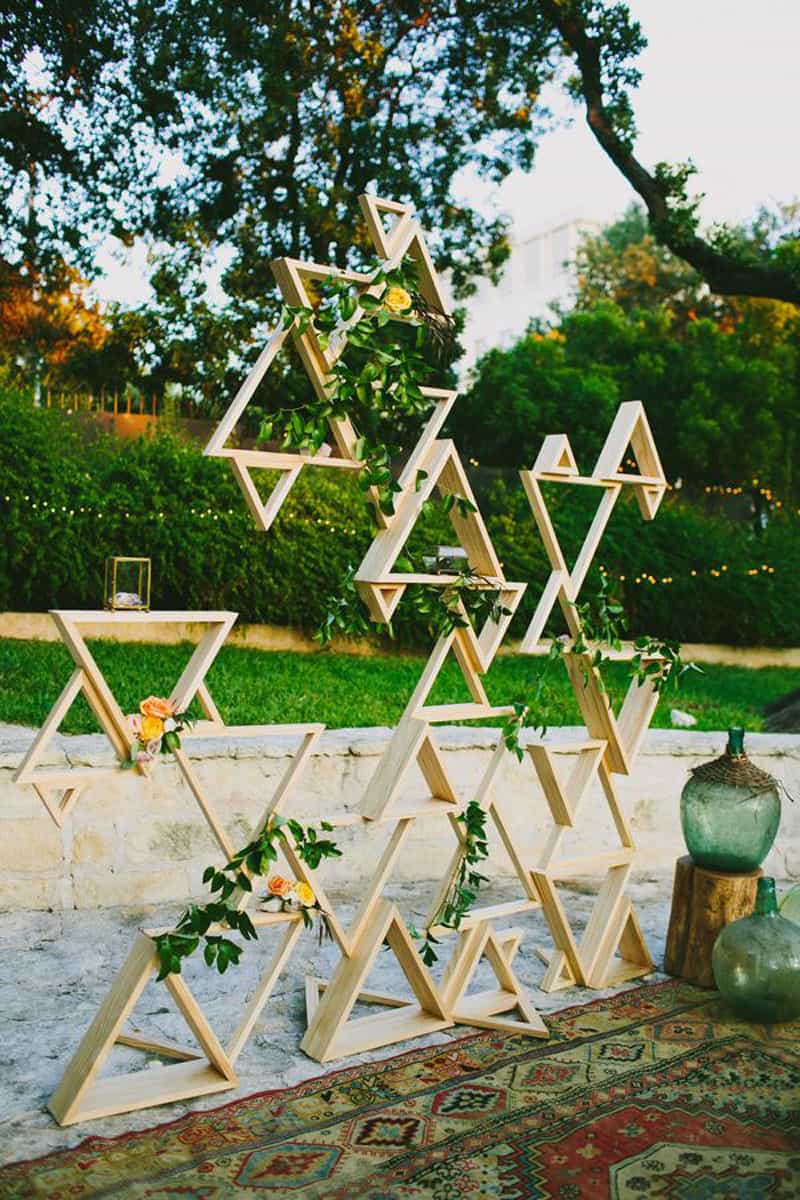
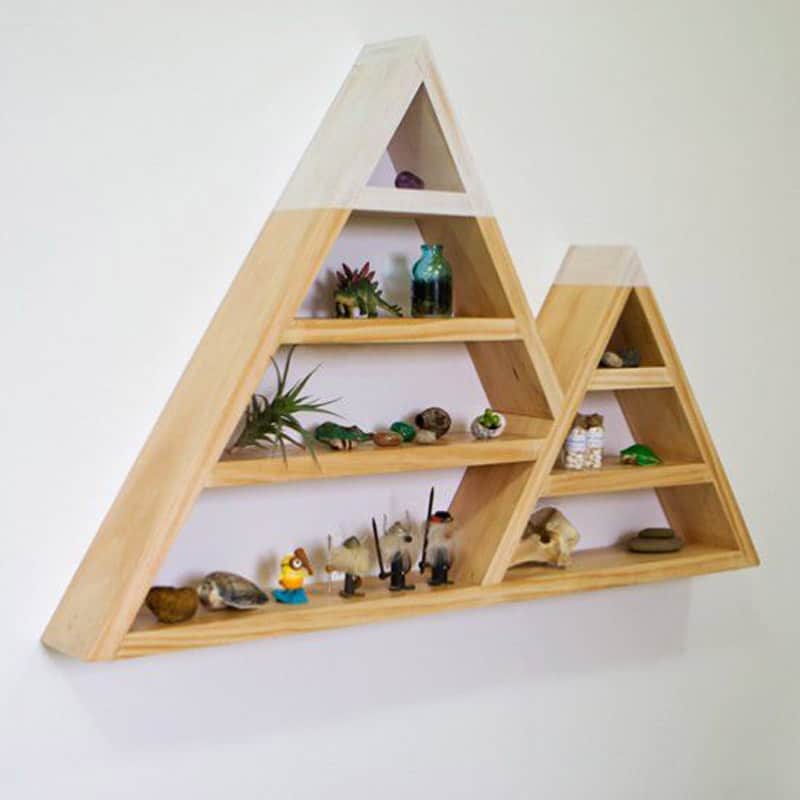
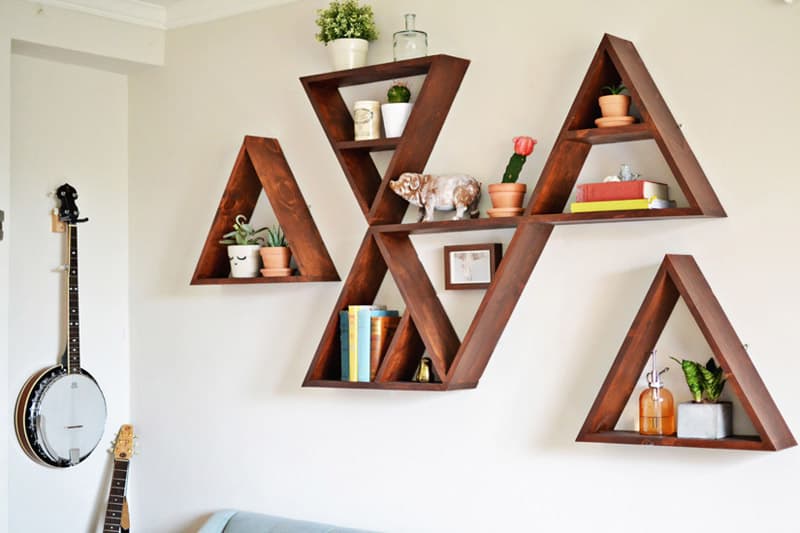
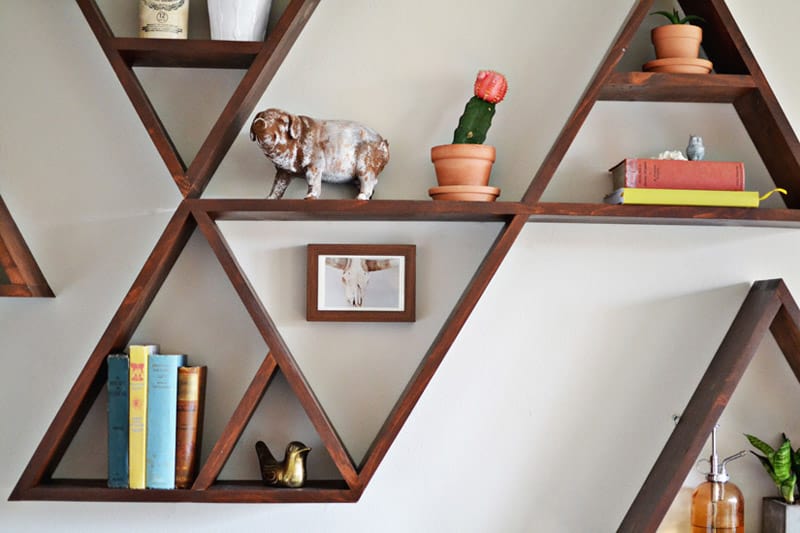
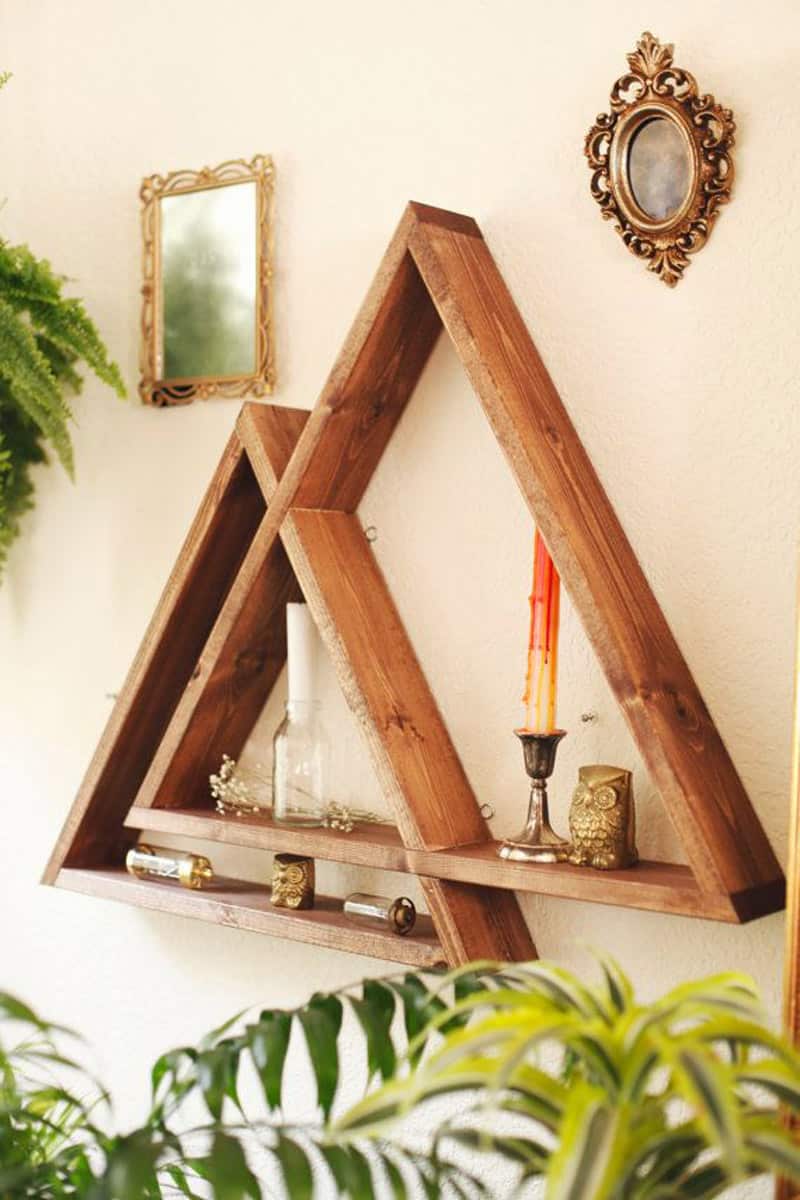
Sometimes the simplest DIY can make the biggest impact, no? These wooden triangle projects are perfect for the novice crafter yet cool enough to be tackled by the expert. You don’t have to look too far to realize that geometric shelving is all the rage these days. With some simple geometry and a few power tools, you can make your own triangle shelves out of whatever wood you have lying around in about an hour.
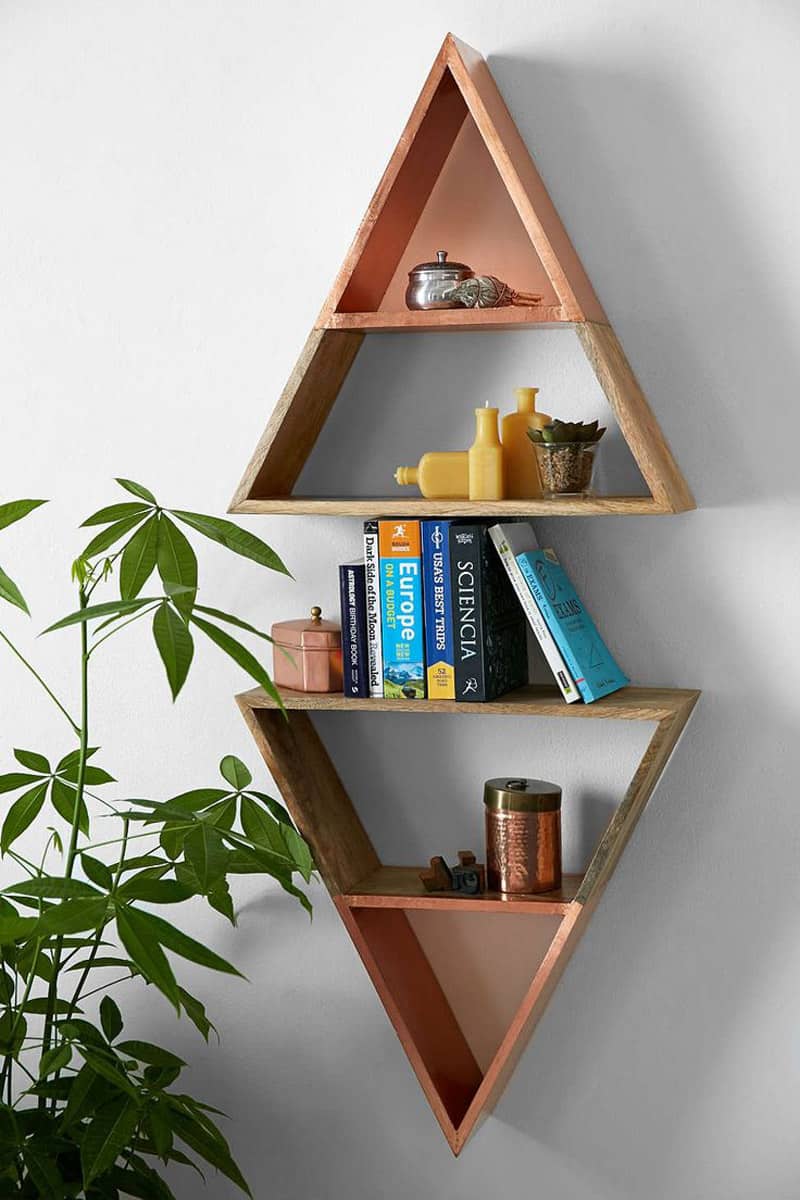
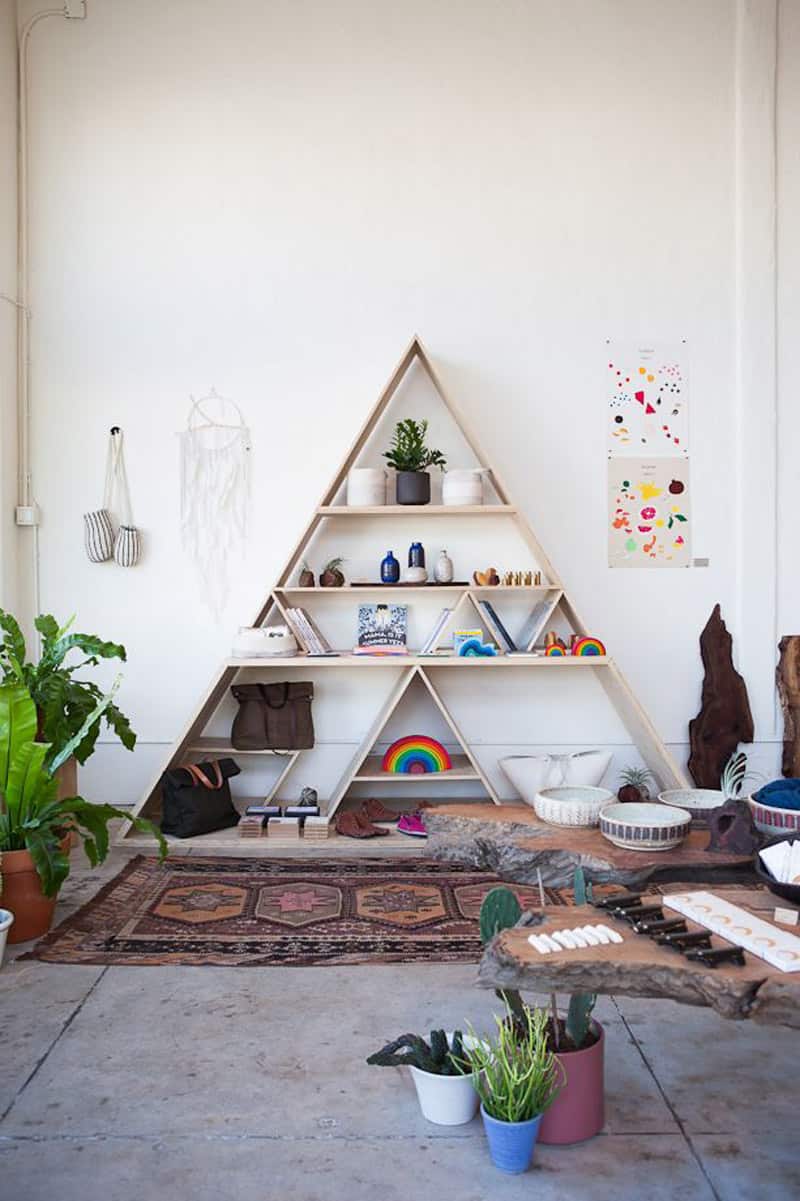
Wooden Triangle Shelves are simple yet still eye-catching pieces of furniture. The storage spaces feature a variety of shapes and sizes so there’s plenty of room for displaying collections, accessories and other things.
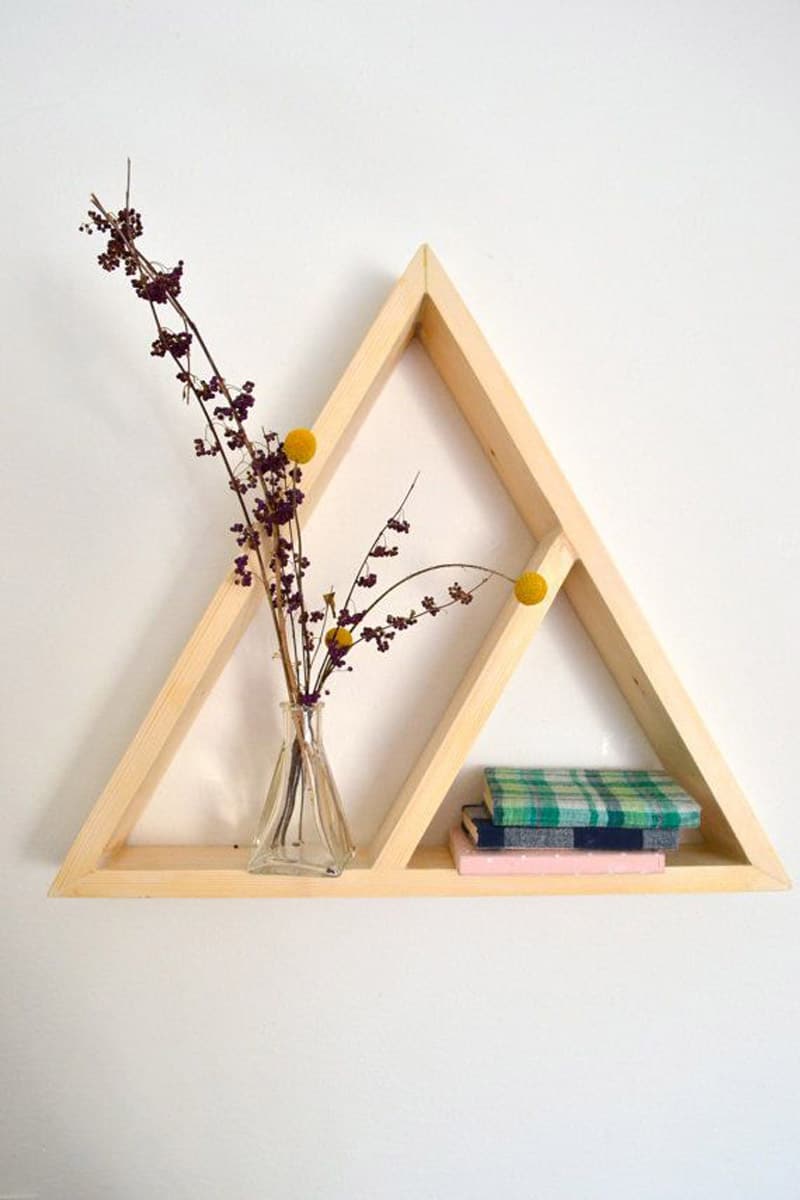
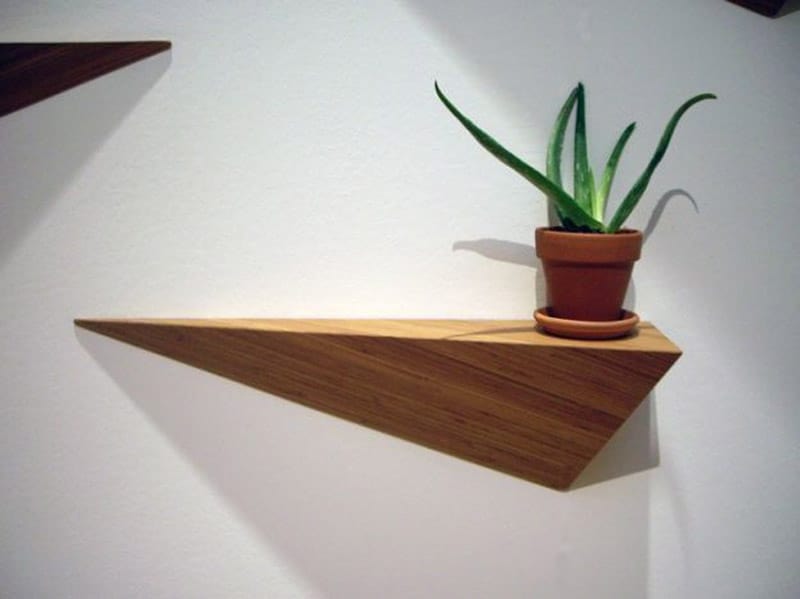
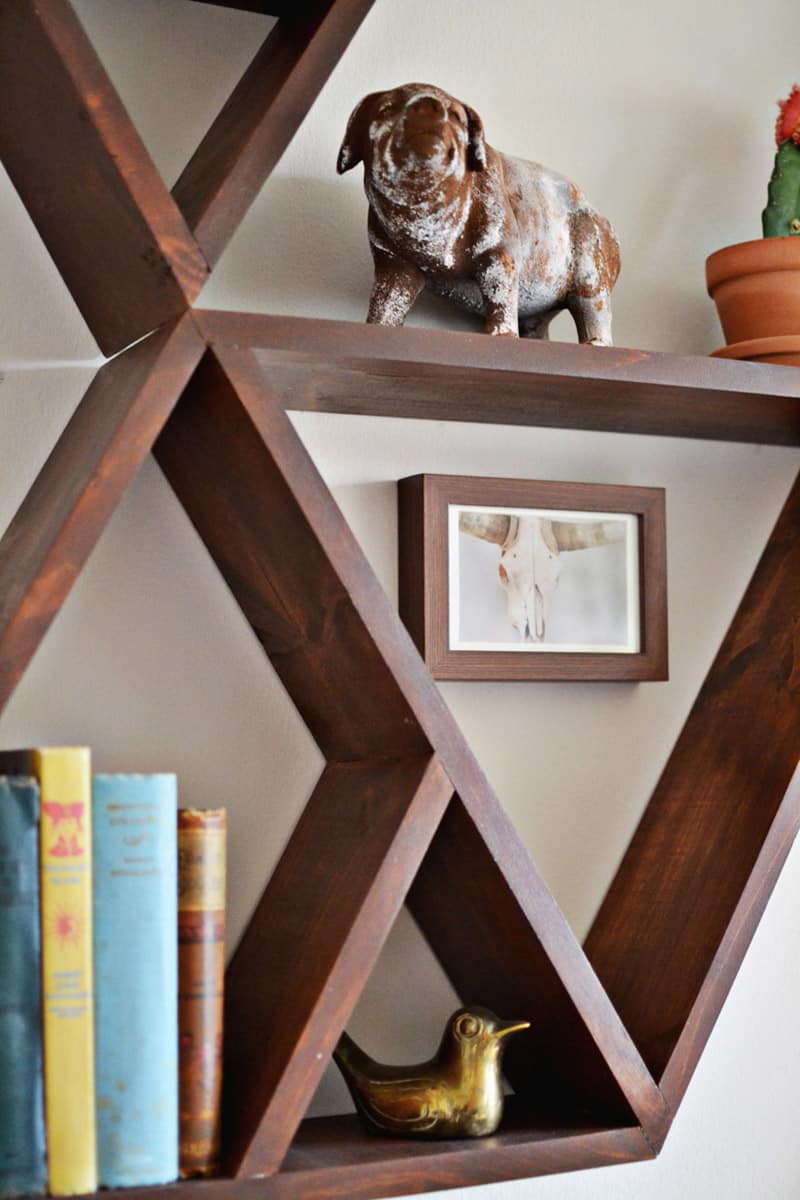
Geometric design is very popular in modern and contemporary interiors and it comes in many forms. Geometric shelves are a simple and chic way of giving the room a more eccentric and sharp look. Of course, the designs vary and can be adapted to any style and space.
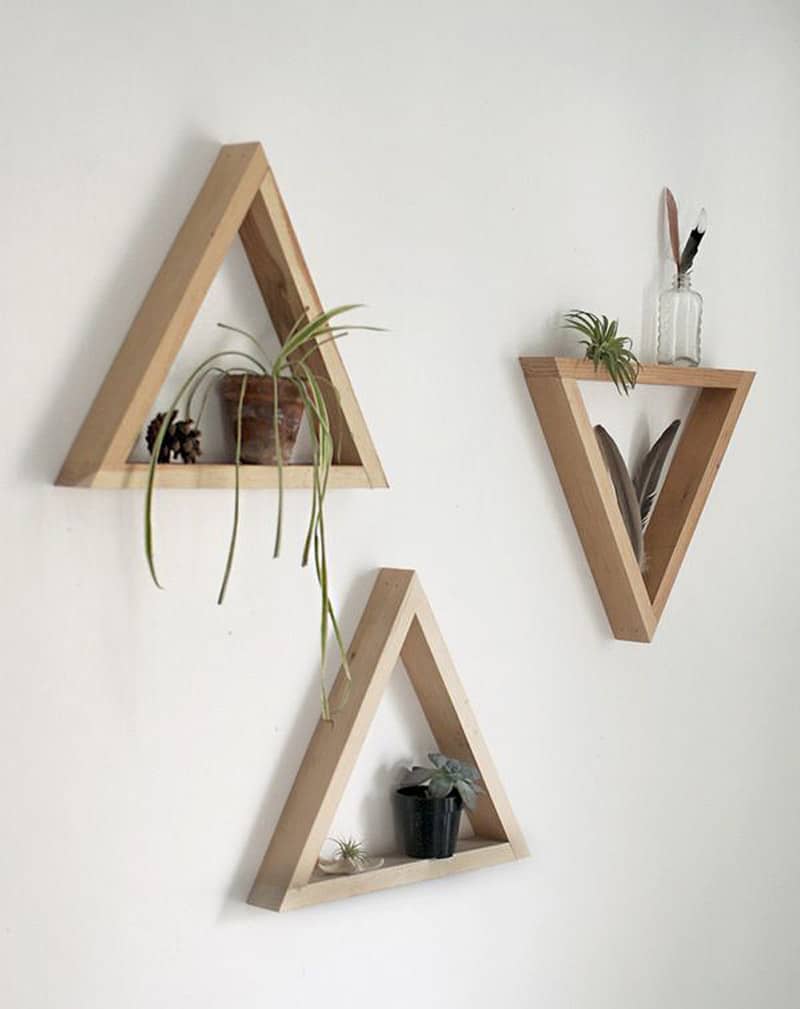
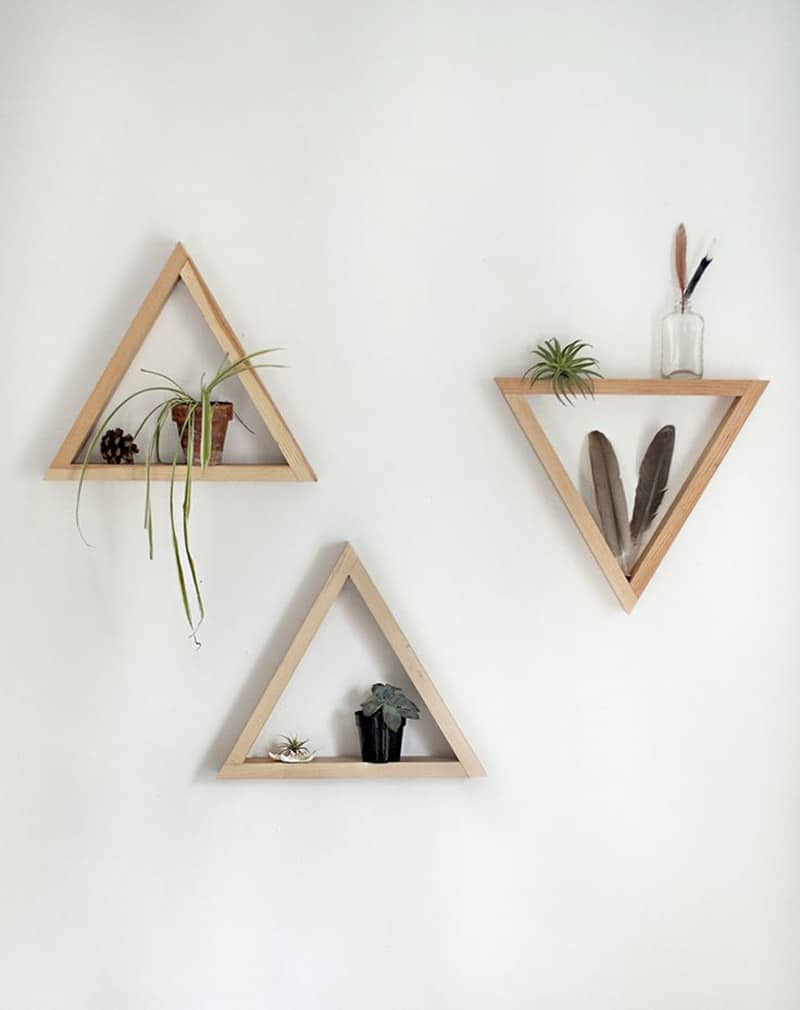
Executing a well-designed project doesn’t always have to involve high-end materials, elegant shapes, and complicated techniques. Sometimes, the most affordable wood will do, and to bring it together: just a little math. Most importantly, they can be completely customized to your size and style requirements, and they’ll end up looking better than the big box alternatives. Here we found a helpful DIY Wooden Triangle Shelves tutorial that gives you everything you need but the wood and tools.
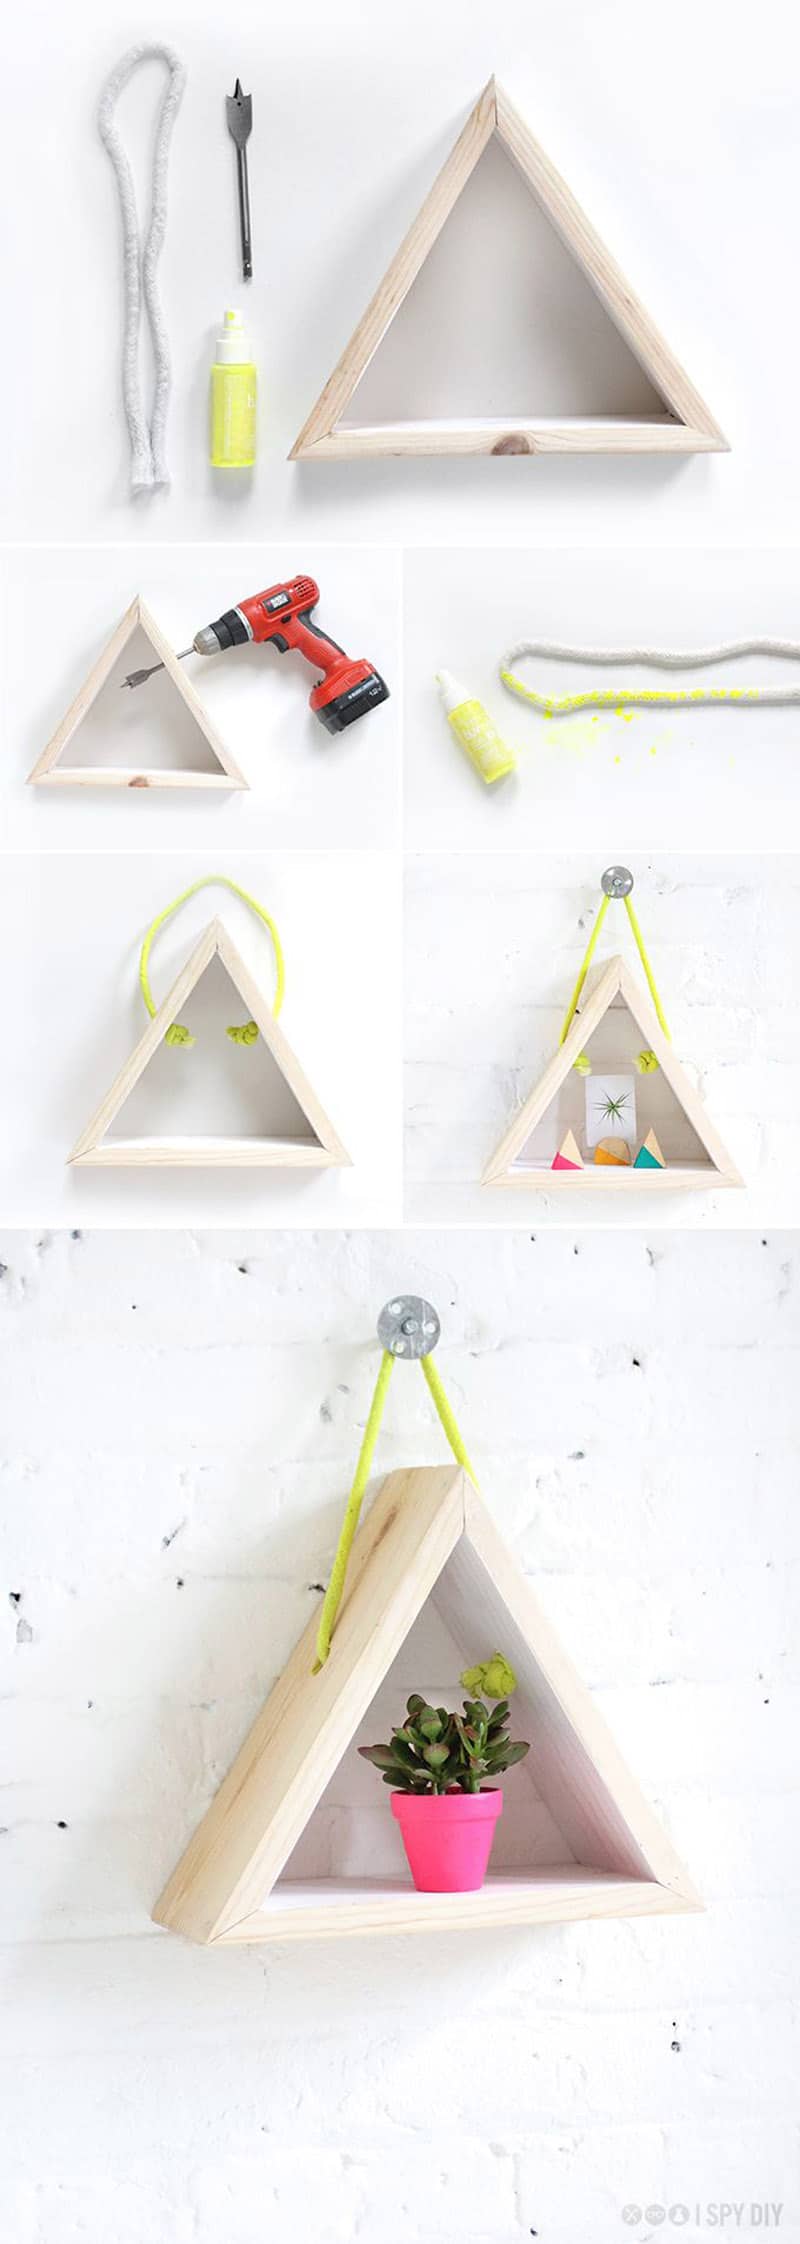
Wooden Triangle Shelves- How to do it
Cut wood to the width you’d like using circular saw (our shelves are about 2? wide). Use the planer to clean the edges. Using the miter box, cut a 30 degree angle on the end, flip wood 180 degrees and measure it the length you’ll want the shelf pieces (our is 12?). Cut at desired length at 30 degree angle again (see photo above to see how the piece looks once both ends are cut). Add wood glue to end, and glue two pieces together. Let set for a minute then nail boards together. Repeat with remaining piece. Sand shelf. We left our shelves as is, you can add stain, paint and/or a coat of polyurethane if desired. To hang, use a nail or screw in the wall and hang triangle on it. (Make sure that it’s secure enough to hold whatever you’re putting on it). Use 2 screws, one in each corner, if hanging the triangle upside down.

