


Exterior pier mount lights do real work. They anchor your entry, mark your driveway, and quietly take every storm on the chin. If you pick them just for the pretty lantern top and ignore the base fit, weather rating, and light color, you’ll hate them within a year.
This guide cuts through the catalog noise and walks you through how to choose exterior pier mount lights for columns, piers, driveway pillars, and entry walls—without ending up with rust stains, wobbling fixtures, or that awful blue-white glare.
What exterior pier mount lights actually are (and where they work)
Exterior pier mount lights are lanterns designed to bolt to a flat surface: the cap of a stone or brick column, a concrete pier, a driveway pillar, or a short wall. Instead of sliding over a post, they use a flat mounting plate or “pier base” that screws down into masonry or a capped post.

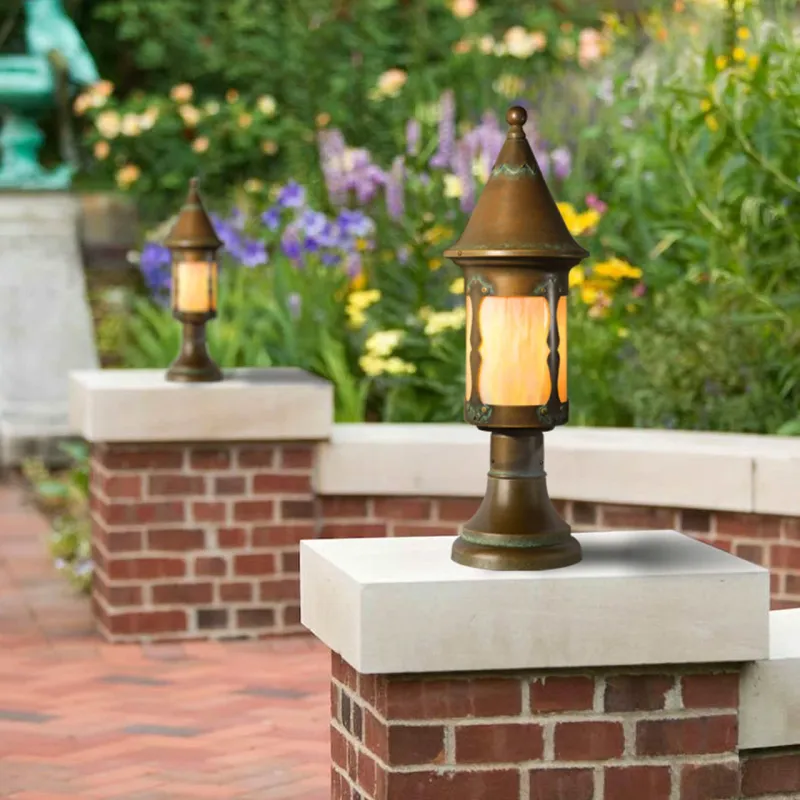
Typical locations:
• stone or brick driveway pillars at the entrance
• masonry piers flanking front steps
• capped porch columns or half-walls
• low garden or retaining walls near the entry
For most homes, the priorities are simple: the base must fit the cap, the fixture must be truly wet-location rated, the materials must survive your climate, and the light has to be usable and welcoming—not a searchlight and not a dim candle.
Base fit: the deal-breaker most people ignore
If the base of your exterior pier mount lights overhangs the stone cap even a quarter inch, you bought the wrong fixture. I’ve watched people try to “make it work” with silicone and wishful thinking; it always looks amateur and it always fails first in a storm.
How to get the base right:
Measure the usable cap, not the whole column. Ignore sloped edges, chamfers, and decorative profiles. You only care about the flat, solid area where a mounting plate can sit.
Now compare that to the fixture’s mounting plate (often shown in the spec sheet or instructions). The entire plate needs to sit comfortably inside the flat zone with a bit of breathing room—no edges hanging in midair.
A practical visual guideline: the lantern footprint usually looks right when it covers about one-quarter to one-third of the cap width. On a 20-inch stone cap, that often means a base in the 6–8 inch range, provided the manufacturer’s template fits.
Bottom line: base compatibility comes first. A cheap but correctly sized lantern will always beat a gorgeous piece that wobbles and leaks because it barely fits.
How to size exterior pier mount lights for columns and pillars
Undersized outdoor pier mount lights for columns make expensive masonry look like it’s wearing a kids’ hat. If you’ve paid for broad stone driveway pillars, anything under about 18 inches tall is going to look timid and wrong from the street.


Use these height ranges as a starting point:
• Porch columns and modest piers: around 10–14 in tall
• Typical driveway pillars and entry columns: around 18–27 in tall
Think in terms of proportion and viewing distance. A small 10-inch lantern can look fine on a short porch pier you see from a metre away. The same fixture on a tall driveway pillar that you only see from the road will disappear completely.
For stone driveway pillars you want people to actually notice, aim for that 18–27 inch range. It matches the visual weight of the masonry and reads correctly from the street.
Quick sizing process for stone columns
- Measure the cap: flat width and depth, ignoring sloped or rough edges.
- Check the mounting plate dimensions and bolt pattern: it must sit fully on the flat cap.
- Choose height based on the column size and viewing distance (10–14 in for small porch piers, 18–27 in for substantial driveway pillars).
- Match visual mass: heavy stone can handle a tall, substantial lantern; narrow columns need something lighter and slimmer.
- Keep symmetry: paired pillars need matching fixtures at the same height and orientation.
- Think about sightlines and movement: avoid heights that clash with gates, vehicle mirrors, or branches.
- Double-check: does the lantern still look in scale when you step back to the road or driveway entrance?
Ignore generic “half the door height” rules you see for wall lights; they don’t translate well to columns. Your actual cap size and the manufacturer’s mounting template always win.
Weather resistance: wet-location or don’t bother
“Weather resistant” on a product page is marketing fluff. It does not guarantee the fixture will survive years of direct rain, snow, and wind on an exposed pillar.
What you actually want:
• A clear wet-location rating: spelled out in the product details or documentation.
• An IP rating where possible: IP54 is the bare minimum; IP65 is better for harsh weather, driving rain, and dust.
I always tell clients: stop obsessing over decorative scrollwork and pick the most boring-looking, properly wet-rated, corrosion-resistant fixture you can afford. Fancy “weather resistant” pier mount lanterns that aren’t truly wet-location rated start rusting, fogging, and peeling while the plain black workhorse next door just keeps going.
Materials that actually hold up outdoors
Exterior pier mount lights take every bit of weather your house does—often worse, because they sit on exposed caps with water and debris collecting around them.

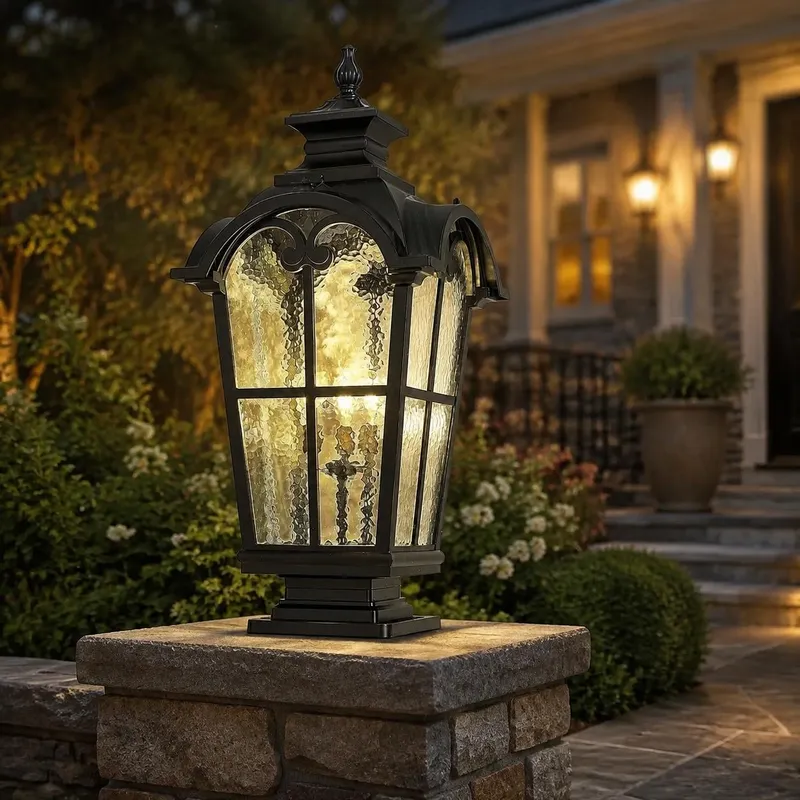
Here’s how common materials behave:
• Die-cast aluminum: Lightweight, affordable, works fine in most inland climates if the powder coat is decent.
• Brass or copper: Better for coastal or corrosive environments, ages gracefully instead of flaking.
• Marine-grade aluminum: Designed for tough environments; worth it if you’re anywhere near salt air or industrial pollution.
Check for these details in the specs:
• powder-coated finish rather than thin spray paint
• availability of replacement glass and hardware
• stainless fasteners, especially for coastal areas
If the listing can’t be bothered to mention the material, finish, or rating, assume corners were cut.
Light quality: lumen levels and color temperature
Good exterior pier mount lights should help you see the driveway or steps without turning your front garden into a car park.
For a pair of driveway pillars, aim for roughly 300–500 lumens per fixture. That’s enough to mark the entrance and help with navigation without blinding drivers or bouncing harshly off wet stone.
As for color temperature: cool white LEDs on entry columns are a design crime. They make warm stone look sickly and kill any sense of welcome. I push 2700K–3000K every time—clients who’ve lived with both never ask to go back to that icy, blue-tinged glare.
Stick with warm white (2700–3000K) for almost every residential entry. It flatters stone, brick, timber, and planting, and it reads as “home” rather than “parking lot.”
Controls: hardwired, sensors, and why solar disappoints
For main entries and driveway pillars, hardwired fixtures win. Every time.
Solar pier mount lights on driveway pillars are the landscaping equivalent of fake plants in a formal garden. They’re fine on a back fence, but on your main entry, the weak, inconsistent light and dead-battery nights make the whole house feel cheap and neglected.
Here’s the hierarchy that actually works:
• Hardwired with a switch or timer: most reliable, consistent brightness year-round.
• Hardwired with dusk-to-dawn sensors: great if the sensor has a clean view of the sky and isn’t shaded by deep eaves or trees.
• Solar: reserve for secondary areas where wiring is impossible and the panel gets strong, direct sun for several hours a day.
Watch out for sensor placement. If the photocell is tucked under an overhanging cap or blasted by a nearby security light, it will turn on and off at odd times.
Bulbs vs integrated LEDs: choose serviceable fixtures
Integrated-LED “sealed” pier lights are a maintenance trap. I’ve seen people replace entire fixtures on four driveway pillars because a single onboard LED failed—if a light requires a ladder and a mason to “change the bulb,” it’s a bad piece of design, period.
Look for fixtures that take standard replaceable bulbs (E26 or E12). That way, when the lamp eventually fails, you spend a few dollars and five minutes instead of buying four new lanterns and paying an electrician to swap them.
Checklist for the lamping side:
• standard socket type (E26/E27 or E12)
• compatible with LED bulbs
• rated for the wattage you need to hit 300–500 lumens
• clear or lightly frosted glass if you want more brightness; opal glass for softer light and less glare
Good, better, best: types of exterior pier mount lights
| Type | What you get | When it makes sense |
|---|---|---|
| Budget solar pier light | Small, integrated LED, dusk-to-dawn (when charged), no wiring | Secondary garden walls or back corners with strong sun; not for main driveway pillars |
| Budget hardwired lantern | Aluminum body, 1–3 bulbs, basic finishes | Good starting point for modest porches and smaller columns |
| Mid-range branded fixture | Better finish and glass, solid hardware, real warranty | Best value for most noticeable driveway and entry columns |
| Premium architectural fixture | Brass, copper, or marine-grade aluminum; repairable parts | Harsh climates or high-end homes where longevity and detail matter |
| Convertible pier/post lantern | Includes pier base plus collar for a 3 in post | Useful if you may swap between column and post in future |

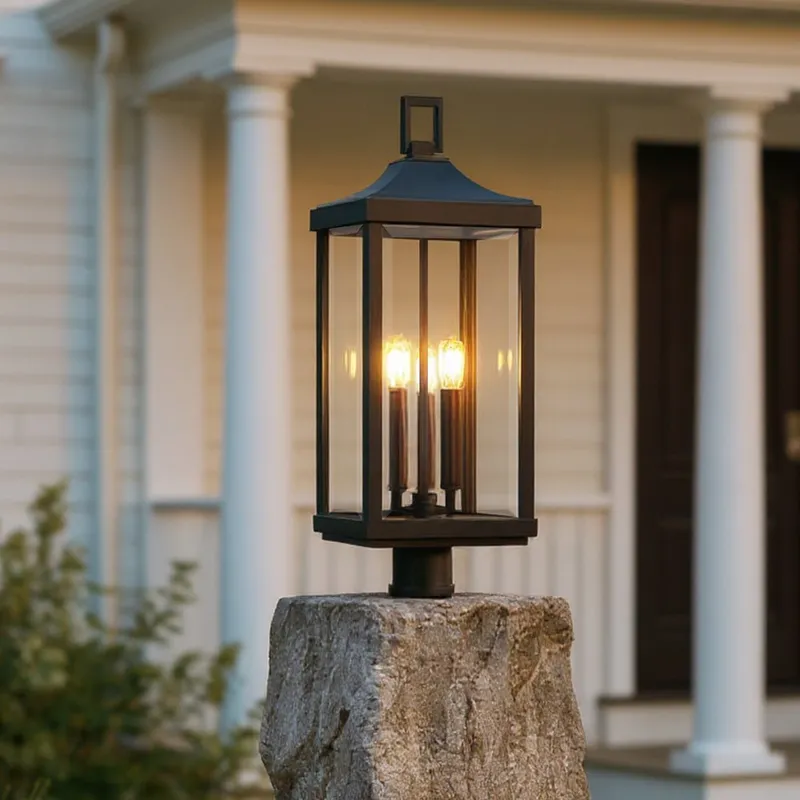
Installation basics on stone, brick, and concrete
If you’re not comfortable with electrical work, hire a licensed electrician and a mason. You’re dealing with power plus masonry that can crack or loosen if drilled badly.
Core principles:
• The cap must be level, solid, and firmly attached.
• Use the manufacturer’s template to mark holes; don’t freehand them.
• Drill into solid stone, brick, or concrete with a masonry bit; don’t rely only on crumbly mortar.
• Use proper masonry anchors matched to the material.
• Run wiring through rated conduit and a weatherproof junction box.
• Seal under the mounting plate with exterior-grade sealant to stop water wicking under the base—but don’t trap water inside the fixture.
And never mount to thin stone veneer or a loose cap without checking how it’s built. A heavy lantern on a hollow, poorly bonded veneer is asking for cracks and wobbles.
Safety note: electrical codes and burial depths for cable vary. Always follow local regulations and use a qualified electrician for permanent exterior wiring.
Modern exterior pier mount lighting ideas that actually work
“Modern” doesn’t have to mean cold or strange-looking. It means clean lines and fixtures that respect the architecture instead of shouting over it.
Strong options include:
• simple black cylinders or rectangular lanterns on clean masonry
• clear or frosted glass box lanterns where the bulb becomes part of the design
• slim linear fixtures on narrow columns instead of bloated lanterns
• warm filament-style LED bulbs in simple metal frames for a contemporary-meets-classic look
• matching finish and glass between your wall sconces and pier lights (sizes can differ, style should not)
For driveways especially, downward-shielded designs are smart. They cut glare for drivers and neighbours while still lighting the approach. Low-profile cap lights can also work on very modern houses where a tall lantern would fight the architecture or block sightlines.
Practical recommendations for common situations
For a typical pair of stone driveway pillars: choose hardwired, wet-location-rated aluminum, brass, or marine-grade fixtures, 18–27 inches tall, with pier bases that fully fit the cap. Use warm-white LED bulbs (2700–3000K) around 300–500 lumens per lantern, and control them with either a reliable dusk-to-dawn sensor or a timer switch.
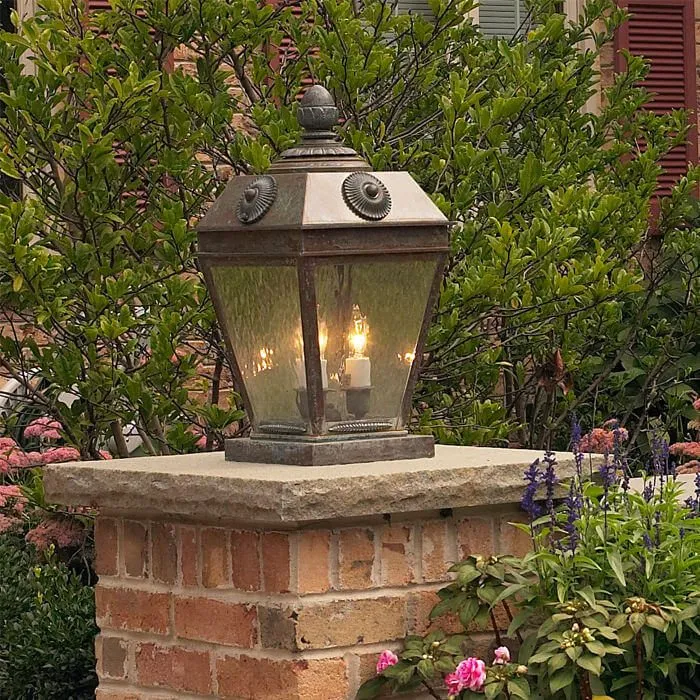
For smaller porch columns or short piers: a 10–14 inch tall lantern with a proportionate base usually looks right. Keep the style simple, match the finish to existing hardware, and stay with warm-white bulbs.
Slam the brakes on anything that:
• needs its base to overhang the cap even slightly
• says “weather resistant” but not wet-location rated
• only comes as a sealed integrated LED module
• offers cool white as the default color temperature for your main entry
Mini-FAQ
How big should outdoor pier mount lights for columns be?
On modest porch columns or small piers, 10–14 inch high fixtures usually look balanced. On substantial driveway pillars or tall entry columns, aim for 18–27 inches so the lantern doesn’t look like an afterthought from the street. Always check that the base fits comfortably on the cap.
Can I put pier mount lanterns on any stone column?
Only if the cap is flat, solid, and wide enough for the mounting plate and anchors. Rough boulder tops, heavily sloped caps, or thin veneers without backing aren’t good candidates without modification by a mason.
Are weather resistant pier mounted lights enough for exposed driveways?
No. For exposed driveways and entry columns, you need fixtures specifically rated for wet locations, and ideally with an IP rating like IP54 or IP65. “Weather resistant” alone is too vague and usually fails early in harsh conditions.