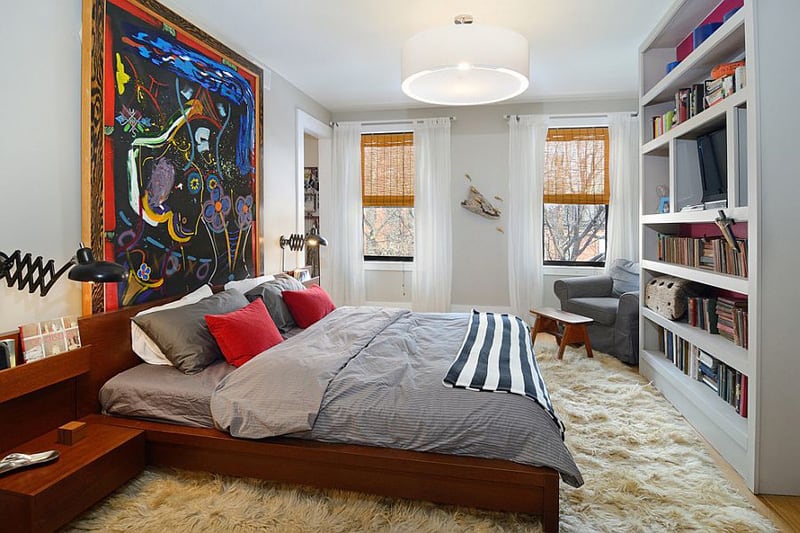
Creative Bedrooms with Chalkboard Walls And Inspirational Messages
Home » Bedroom » Creative Bedrooms with Chalkboard Walls And Inspirational Messages
DesignRulz29 June 2016
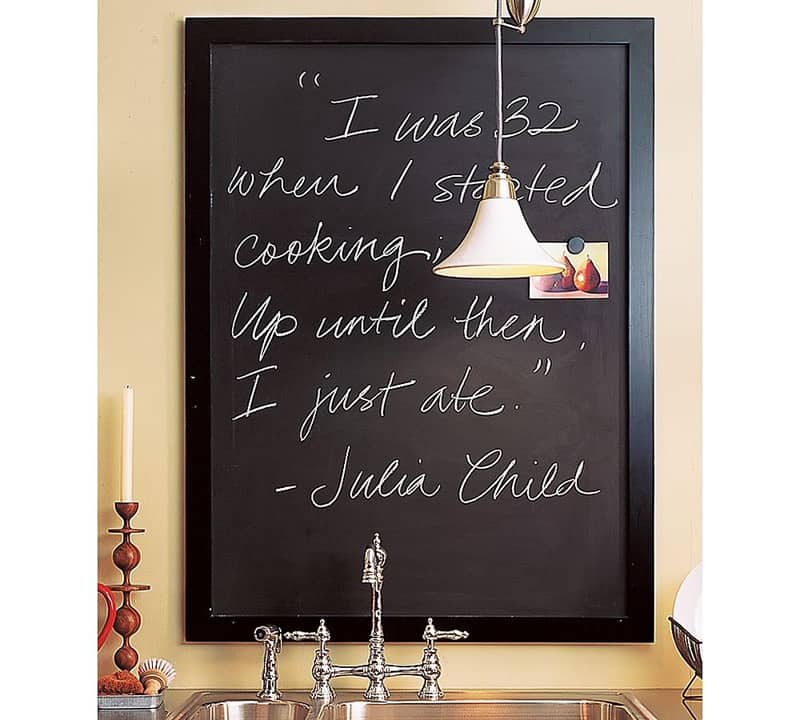
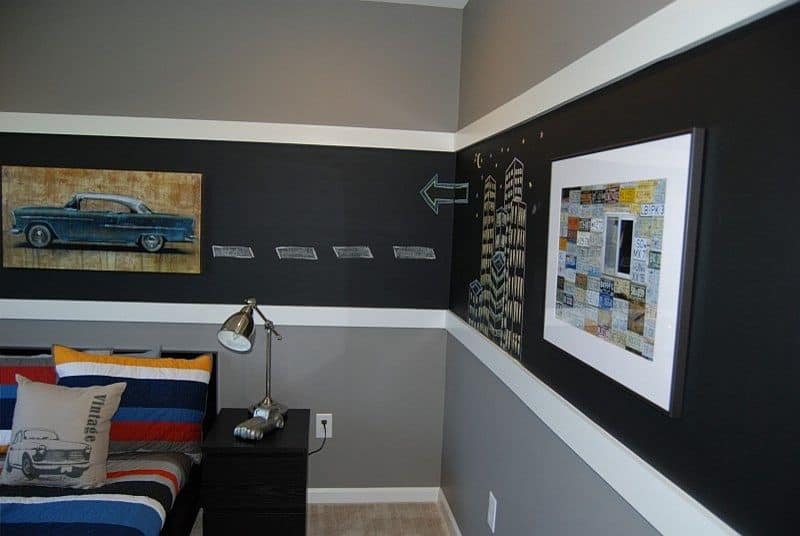
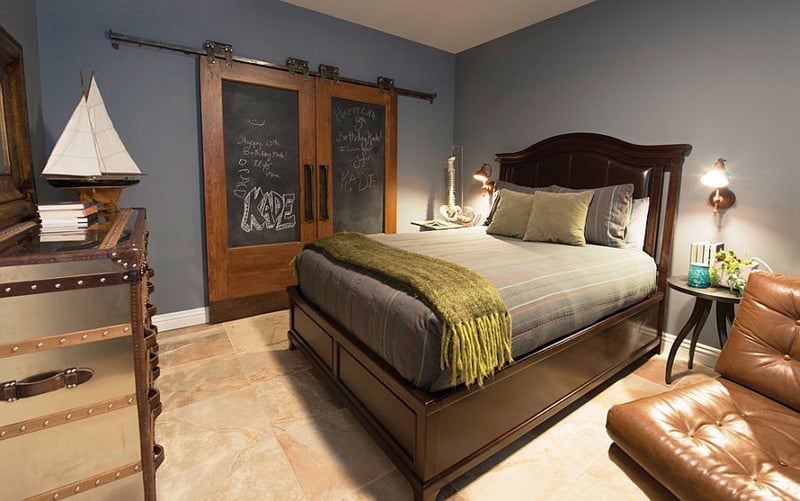
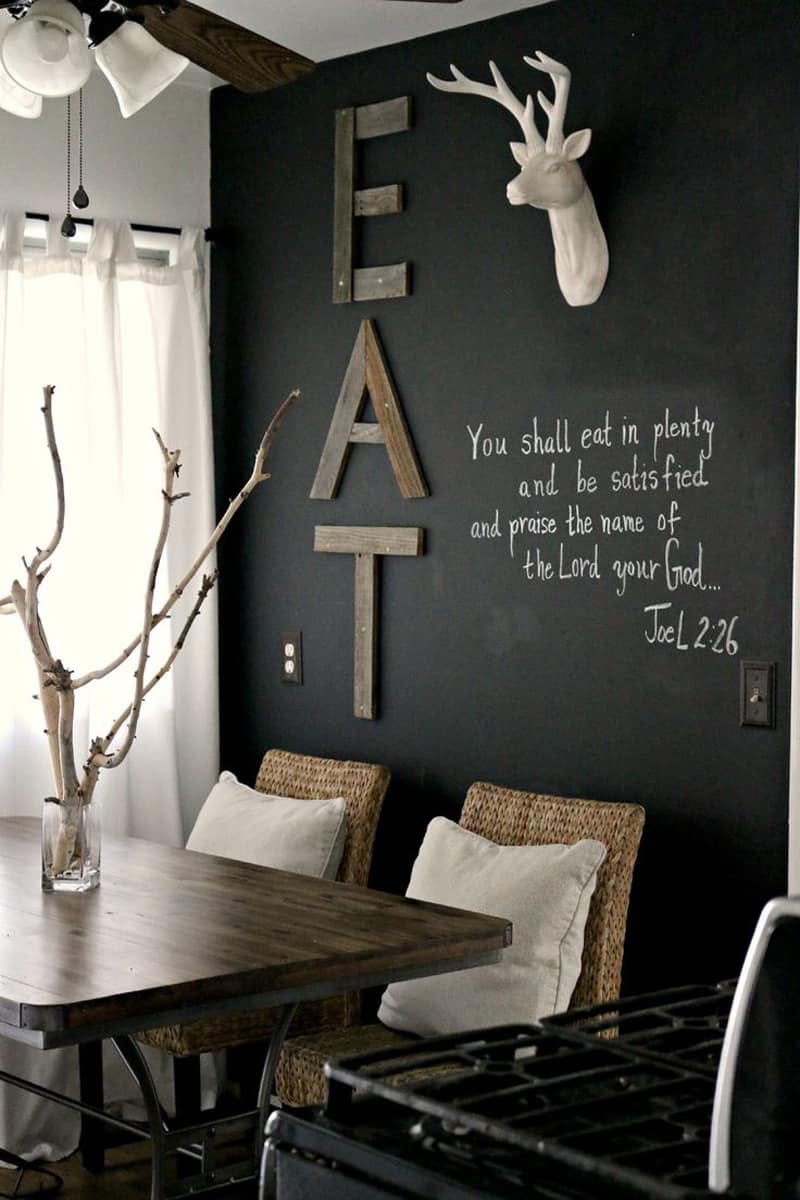
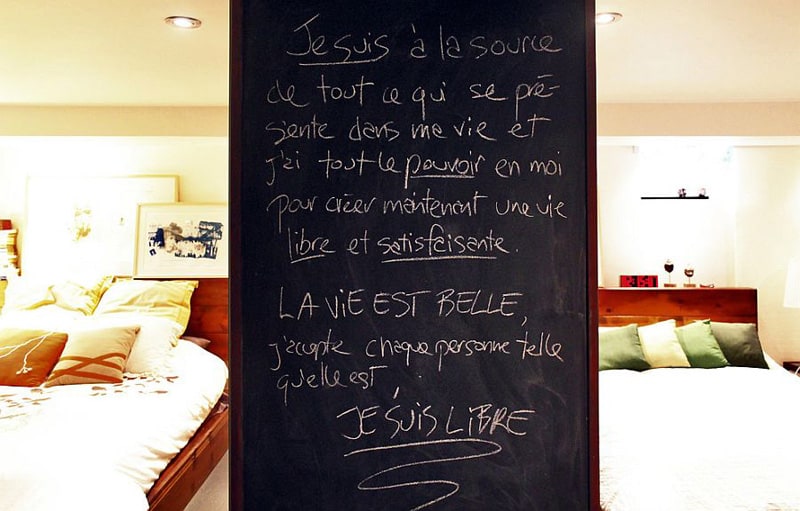
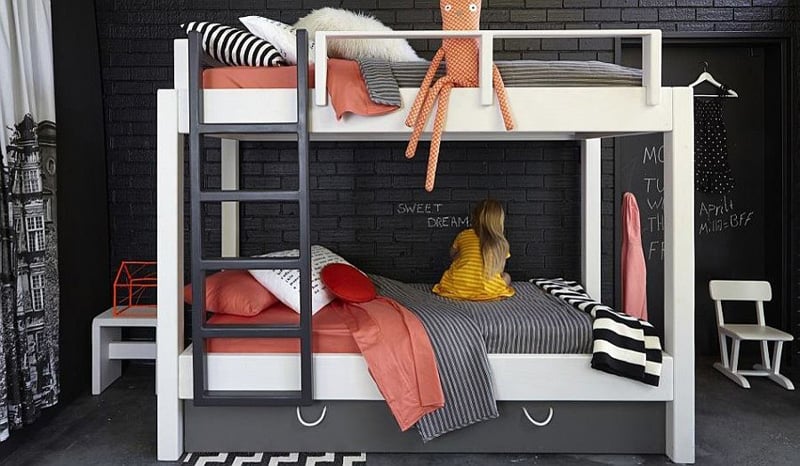
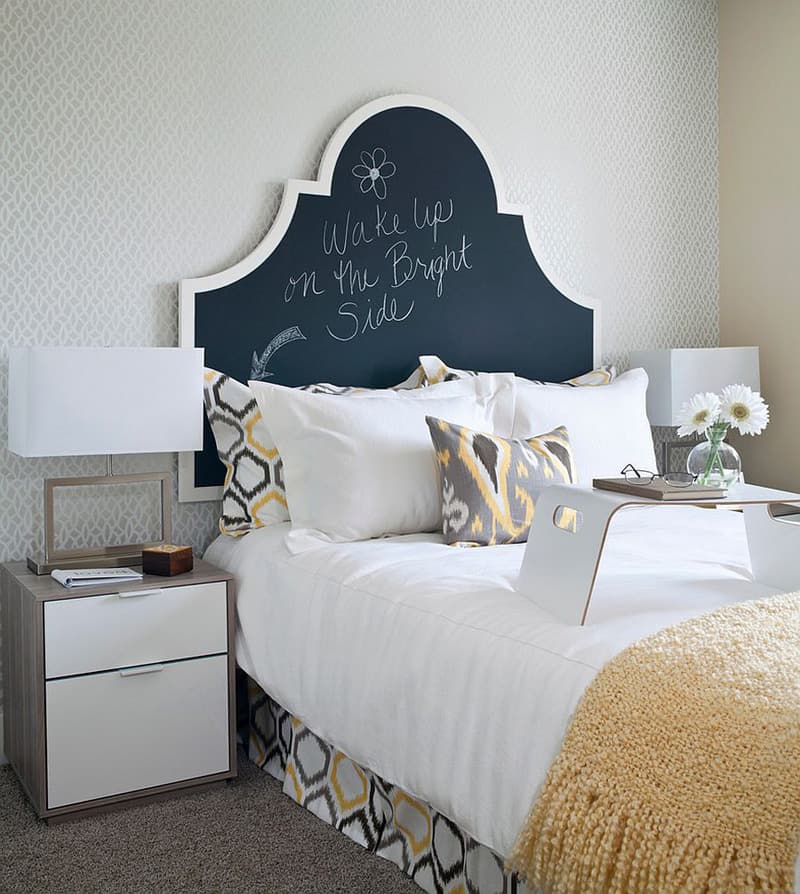
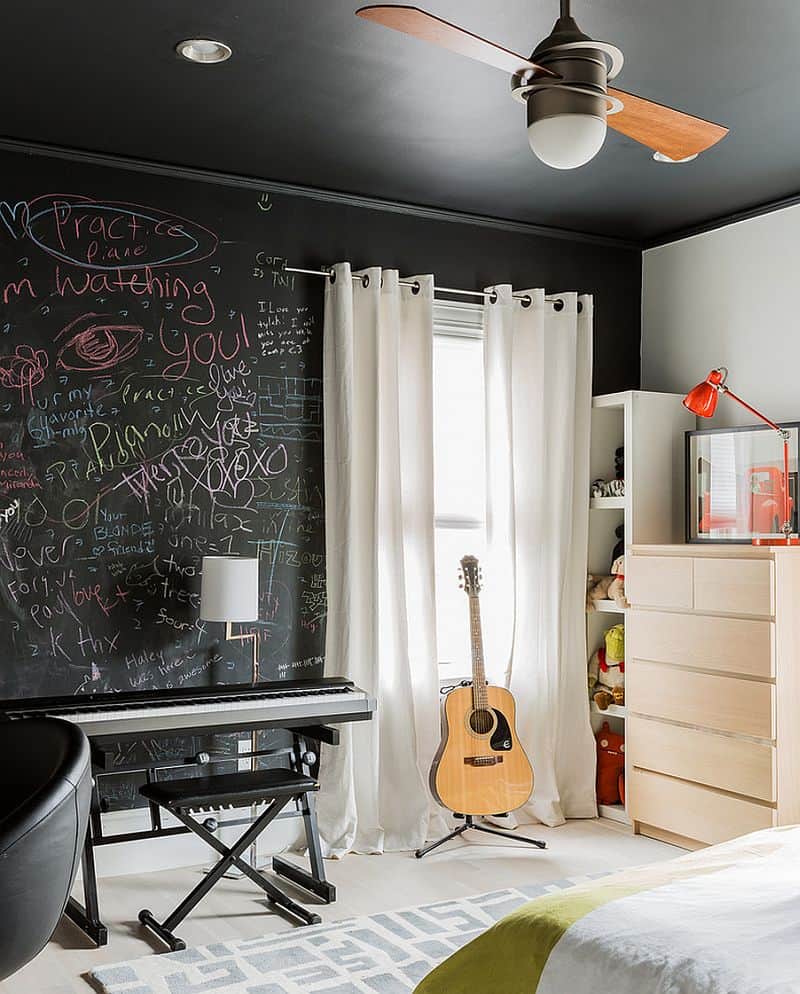
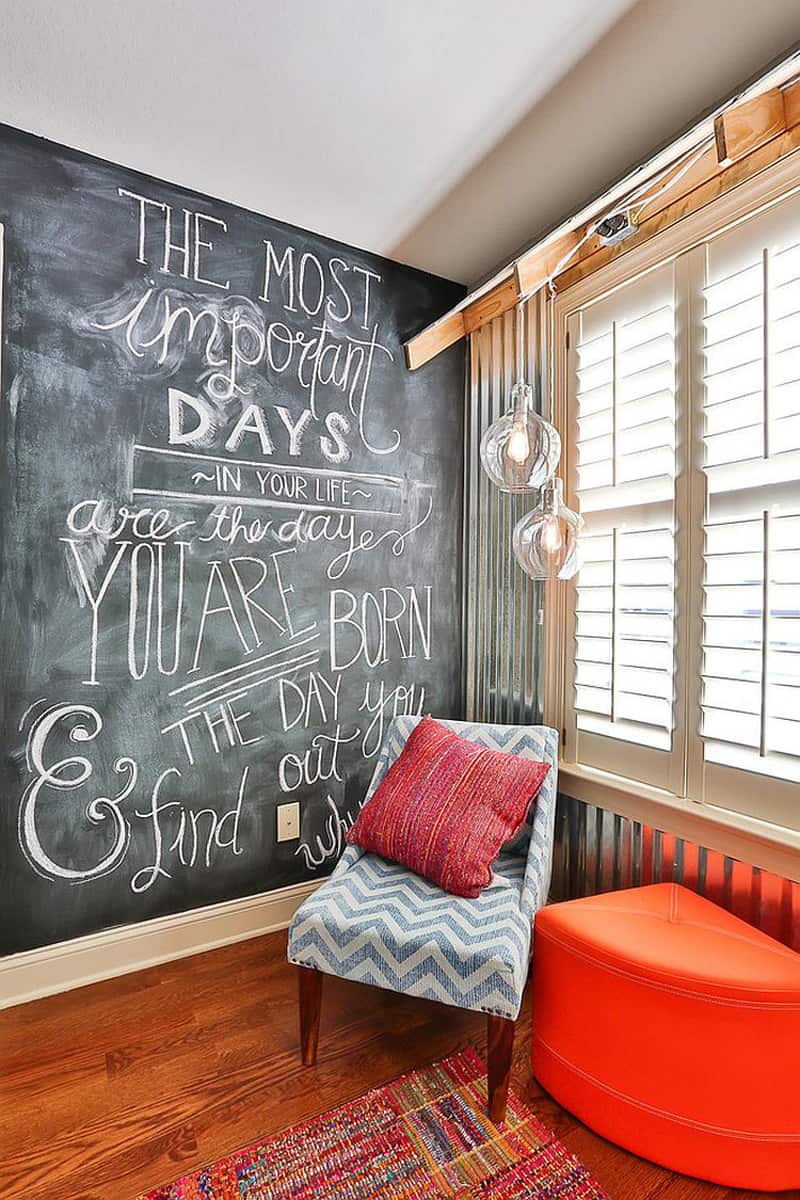
Chalkboard walls are responsible for good mood. Pick one in your room, write something funny or inspirational, and all the family will gather to savour the picnic. Calendars, food receipts, drawings, and messages like Wake up on the bright side! or Sweet dreams are among the suggestions you might introduce in your lively crib. While looking for information about chalkboard walls, I found out that you can use a special paint to create them, and it is available in various colors. Ever need to jot down a note while talking on the phone but can’t find paper or a pencil? What about those shopping or “honey do” lists? Here’s a creative way to transform a dull kitchen wall into a neighborhood talking point. What do you need? The following materials: non-sanded grout, chalkboard paint, mixing cup or bucket, brush or roller, paint mixer drill attachment. Good luck!
How to Paint a Chalkboard Wall
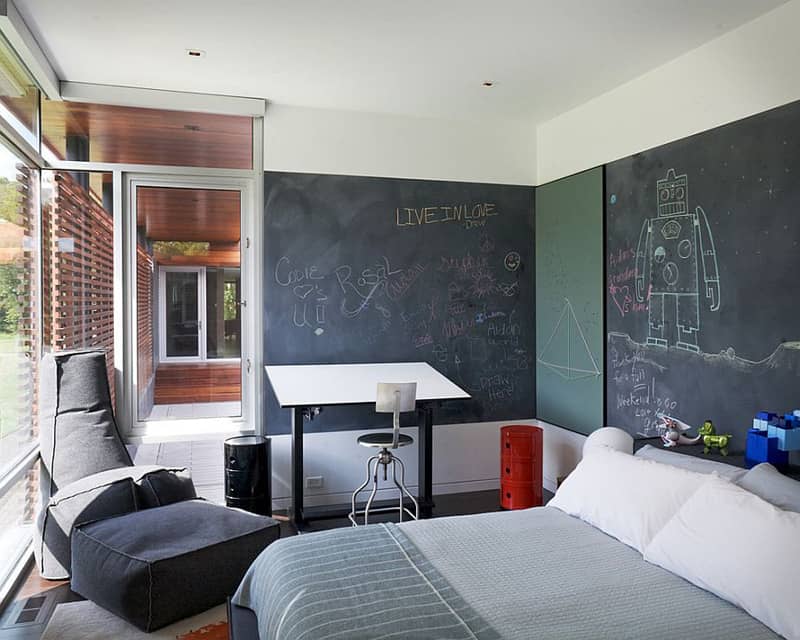
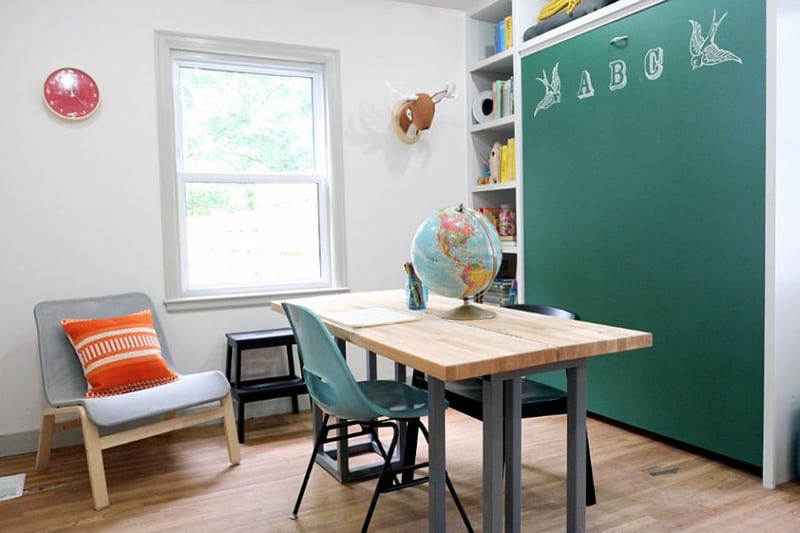
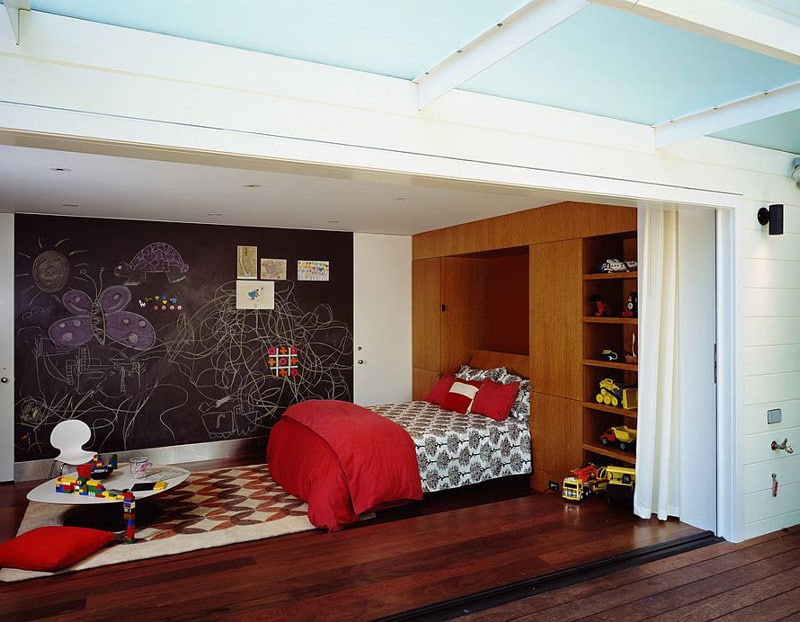
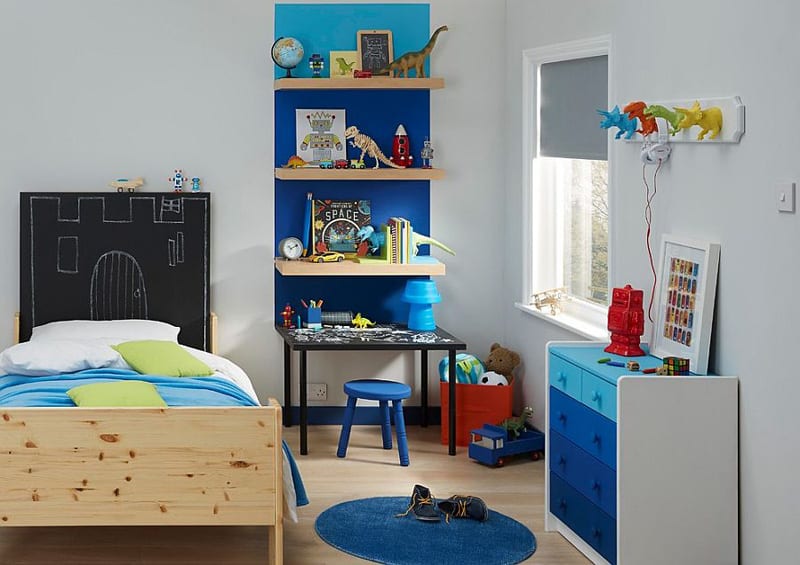
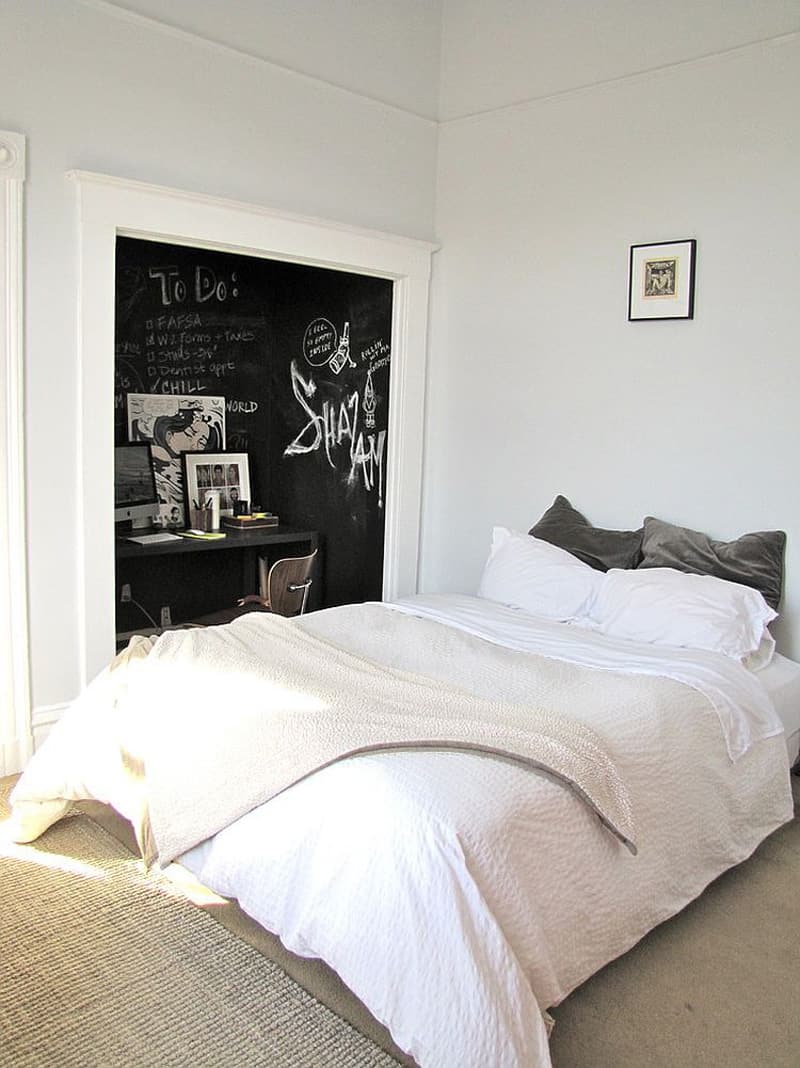
A chalkboard wall is a fun addition to a child’s bedroom or playroom, and it can even be a classy and practical addition to a home office or kitchen, allowing you to write grocery lists, display menus, aphorisms, or doodles. Buy it from here!
Step 1 – Prep the Wall
First, use the painter’s tape to frame the section of the wall you wish to paint, whether it’s the entire wall or just a section.
Buy a good amount of paint: Chalkboard paint is available in many different brands, but when purchasing, keep in mind that you will need to apply at least two coats of the paint for the chalkboard look to work. After it dries, you’ll want to rub the side of a piece of chalk over the entire area and then wipe it off with a dry rag. This will prevent you from seeing marks after you erase your future designs.
Step 2 – Apply the Chalkboard Paint
Stir the chalkboard paint, and then apply a coat directly to the wall just as you would any other wall paint. Let the coat dry for four hours or however long the manufacturer advises. Then apply a second coat. Let this dry for a full three days, and then carefully remove the painter’s tape.
Step 3 – Paint a Frame
To create a transition between the chalkboard and the rest of the wall, paint a frame or border around your chalkboard in a contrasting color.
Step 4 – Prep the Wall for Use
You don’t want to hurt your brand new chalkboard surface by stabbing and scraping it with the business end of a stick of chalk just yet. Before you use your chalkboard wall, condition it with a layer of chalk dust. To do this, use the broad side of a big piece of chalk and drag it along to color over the entire surface of your chalkboard. When you have filled in the entire surface, erase it all with the chalkboard eraser. Your chalkboard wall is now ready to use.
Step 5 – Maintain Your Chalkboard
To clean your chalkboard wall, simply wipe it clean as needed with a damp cloth. After wiping it clean, condition your wall again by covering the entire surface with chalk and erasing it again, as you did during initial installation.
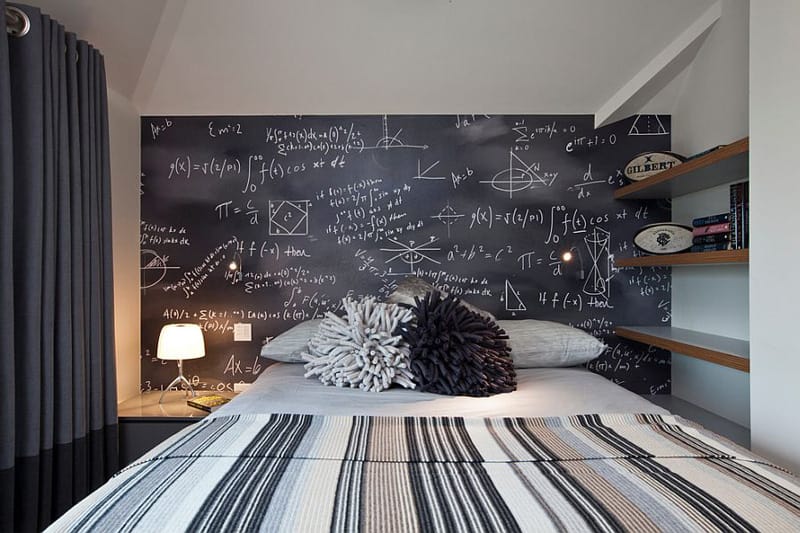
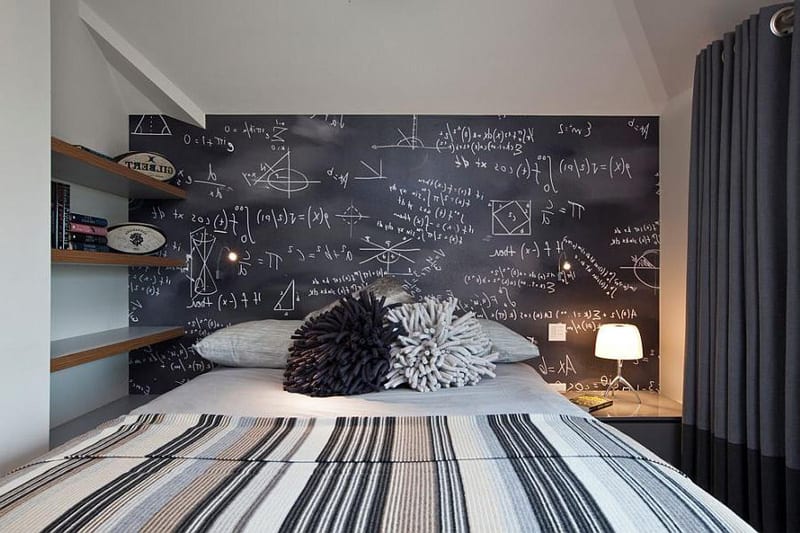
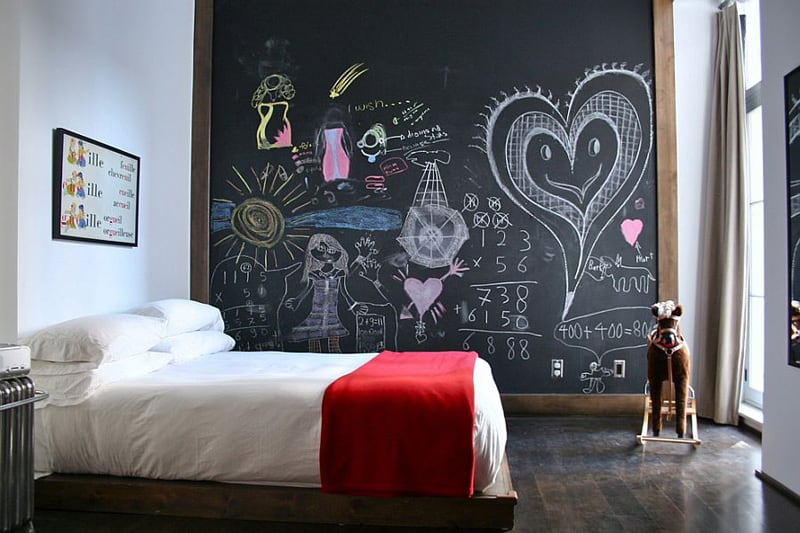
An entire chalkboard wall painted with mathematic formulas, circles, squares, triangles and numbers. The mix is vey challenging, but I do hope the inhabitants did not forget about traditional bedroom entertainment.
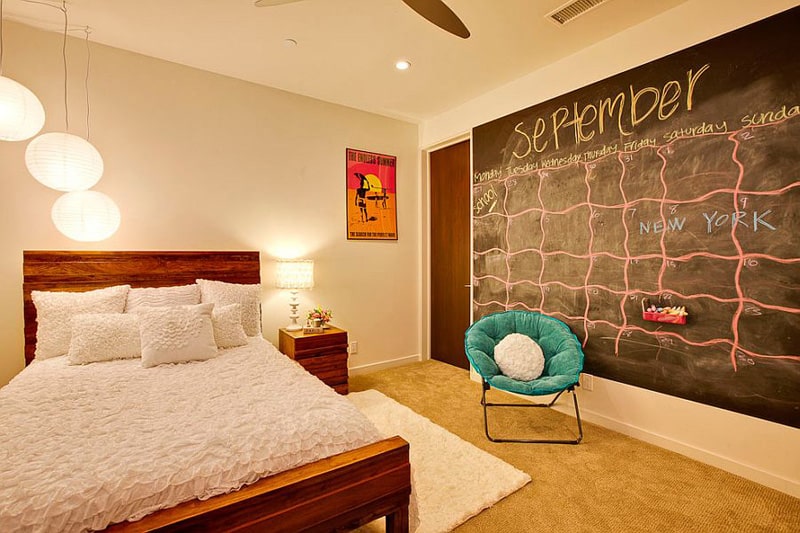
Are you the dreamer who usually forgets about dates & meetings? Put the calendar on a chalkboard wall and you will not miss a thing!
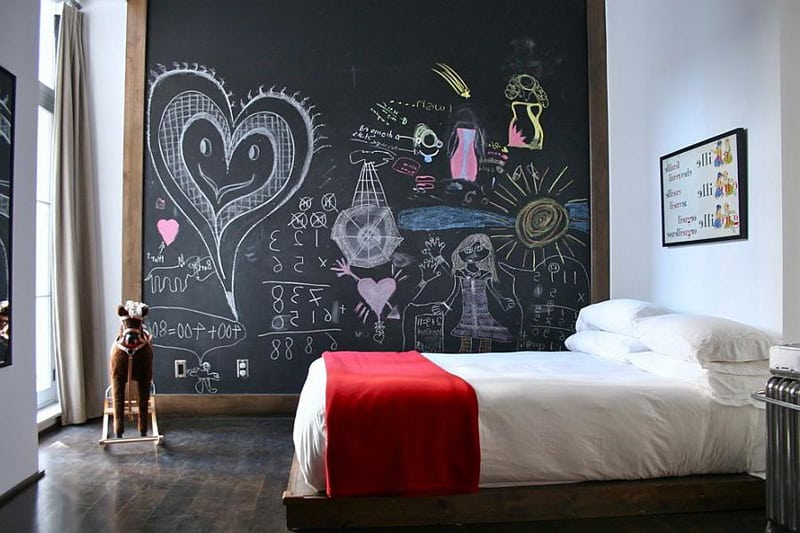
This one looks like the manuscript of a professional writer.
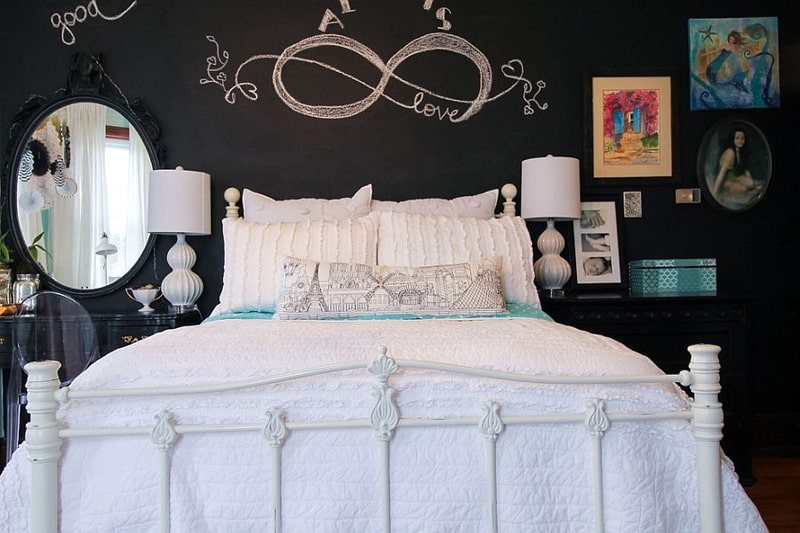
I’ve told you: you are allowed to dream all night long!
Sunny side up
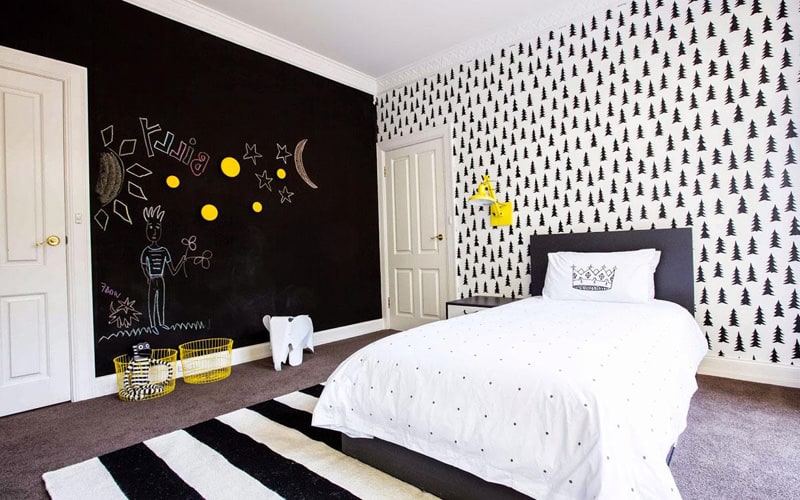
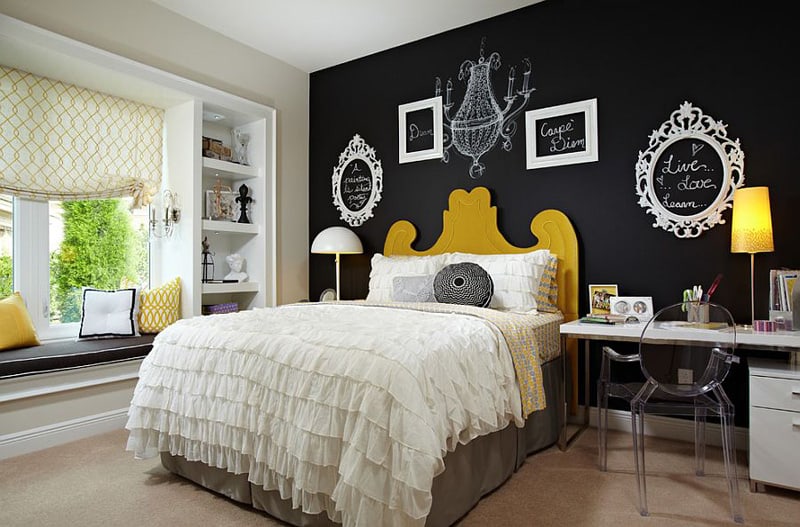
Black, white and yellow – an amazing mix for a fresh, contemporary look. I love the white wall with black Christmas trees!
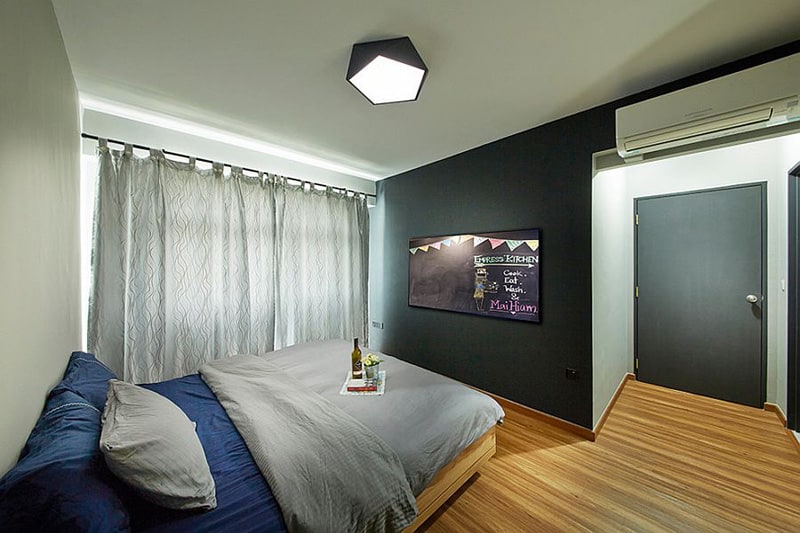
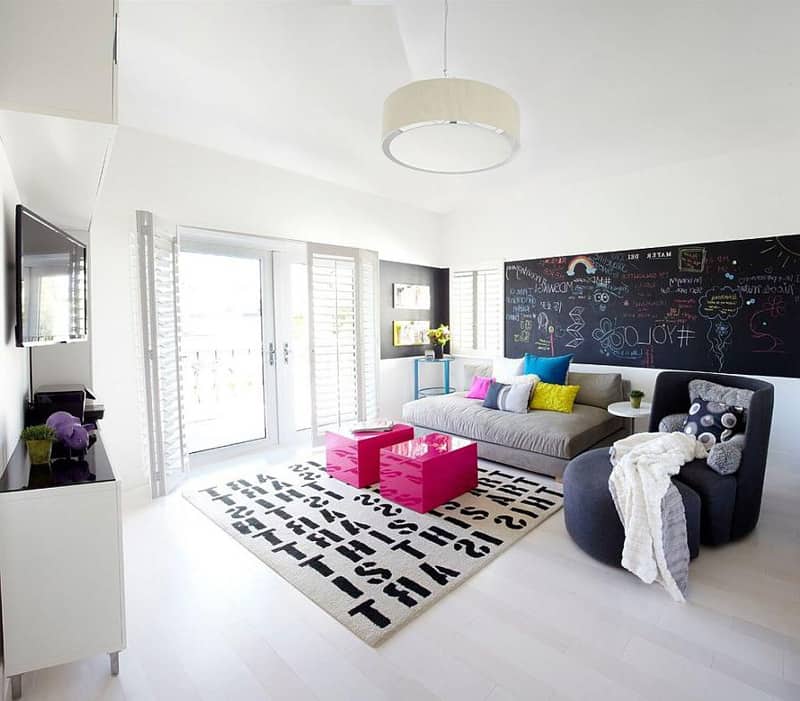
Chalkboard walls are very colorful and versatile.
Y
This website uses cookies to improve your experience. We'll assume you're ok with this, but you can opt-out if you wish.AcceptRead More